


Ready to sew? I can’t be more excited to start Stage 3 – the Piecing! As I told you in the previous post, this is the part I enjoy most during a quiltIng project. Seeing how all the pieces go together and the design is popping up! It’s really satisfying!
Stages 3 and 4 are sponsored by Sewing by Sarah with a $50 gift card for quilting supplies from her online shop. Allison is the owner of this amazing online shop where you can find presser feet, cutting rulers, free motion quilting rulers, patterns and books (including mine), a variety of sewing/quilting tools, fabric, and some apparel and gifts for quilters. I wrote a blog post about my favourite things in her shop and I’m sure you will find something really useful for yourself. Take a look at her website and show her a lot of love in social media @sewingbysarahstore.
Remember the Creepy Eyes pattern includes 3 different quilting techniques: The Foundation Paper Piecing, the curve piecing and the traditional piecing. In the cutting Stage I showed you how to cut your fabrics in every one of those different parts. Now, it’s time to see how to join the fabrics together with every one of the techniques.
I have set up some videos for you to be easy to see how to sew the pieces together. Those are my ways and I want to show them to you. I know there are a lot of different methods to paper piece or curve sewing. Here Is my attempt to show you the ones I think are the best and fastest. I wish I could put my voice in the videos to explain them to you, but by now you will have to read and see. My speaking English is not good enough to make it yet, but I’m working on it every day! Minditme, enjoy the beautiful music I’ve chosen for you from Uppbeat.
Let’s Piece!
In the cutting Stage we started cutting the fabrics by the traditional piecing pieces, then the ones for the curve piecing and then the ones for foundation Paper Piecing. Now, we are gonna use the fabrics in the opposite way. We will start sewing the foundation paper piecing parts, then the curve piecing and finishing with the traditional piecing to join all the backgrounds together.
1. Foundation Paper Piecing
We will use the foundation paper piecing (FPP) technique to sew the eyes. I know there are a lot of FPP ways to paper piece and sure you already have your own manner. But I want to show you my own way, which is really my idea and I have only seen one other person using this method (which makes me think my invention is also though for other people).
I don’t like to have a lot of sewing tools, I use to manage with a few essential things, and with the FPP it is the same. I don’t use pins, clips, glue… and only register marks when it is extremely necessary. After trying a lot of ways to paper piece, I think the one I will show you is one of the easier and faster, only to sew and cut.
What do we need:
- Foundation Paper Piecing templates.
- Fabrics, already cut from the previous Stage.
- Rotary cutter / scissors.
- Sewing machine.
Check the video I’ve prepared with the steps. You can read them here too. I wish I could make videos explaining how to do it, but by now you will have to read and hear the happy music.
In this video you can see how in 4:30 min you can sew an eye… fast, right?
FPP steps:
- Place Fabric 1 (F1) on the back of the paper with the right side up (RSU) in the position of the Unit 1 in the template.
- Check against light there is a border of fabric all around the template Unit 1. The fabric should be centered as much as possible in the template Unit 1 position.
- Place Fabric 2 (F2) on the back of the paper with RSU in the position of the Unit 2 in the template.
- Check against light there is a border of fabric all around the template Unit 2. The fabric should be centered as much as possible in the template Unit 2 position.
- Without moving the fabrics from their position, fold paper and fabrics by the sewing line between Unit 1 and Unit 2. Make sure it creates a crest on the fabrics.
- Unfold only the paper. You will see the F2 is right side down, in contact with F1 right side.
- Unfold the F2 seam allowance, so you will have the F2 RST (right side together) to F1. It’s very important that the fabrics don’t move from their place.
- Sew, with the printed side of the paper up and fabrics below the paper, over the line between Unit 1 and 2. Start some stitches before the beginning of the line, securing the beginning with a stitch back, and end sewing some stitches after the end of the line securing the beginning.
- Fold F2 to their final position and check it fills all the Unit 2 shape in the template.
- Trim the seam allowance from the previous seam to 1/4″ from the seam.
- Press the seam with your fingers, ironing (helping with a clapper if you want) or with a rotary tool.
- Do the same for the Fabric 3 (F3): place F3 in the back of the paper matching the template Unit 3 shape. Check against light. Fold paper and fabrics by the sewing line between Unit 1/2 – Unit 3, like we did before. Unfold paper and the F3 seam allowance, so we have F3 RST with F1/F2. Sew over the line between Unit 3 and Unit 1/2, like we did before. fold F3 to its position and check against light. Trim the seam allowance and press the seam.
- Trim all the exces fabrics around the outer side of the template, with a rotary cutter or a scissors.
- DO NOT REMOVE THE PAPER!! its will help us to stabilize the Eye piece when we join it to the curve background piece.
The freezer paper could be a good option for this pattern since the FPP part is not complicated. It would help you to save a lot of paper and with only need to print 2 eye templates per size. The inconvenience is that in this way you won’t have the paper in the eye piece to help you to sew it to the curve piece, which it’s not really necessary and can be perfectly done. If you like freezer paper I encourage you to do it and tell me about your experience!
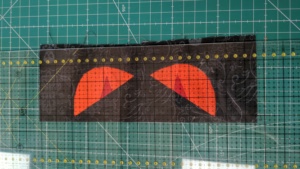
2. Eye block background
Time to join the eyes to the Eye Block background pieces. In this part we will first sew the eye to the curve piece and then join the triangle piece.
Both pieces, curved and triangle, were cut with the cutting templates in the Stage 2.
Like for the FPP part, every one of us has our own way to piece curves. I use a the non pin method which works very well for me, is really quick and efficient.
Before starting to sew, I want you to notice that the eye templates (sewn before) and the curve template have matchching marks. These marks will help you to match the 2 pieces while sewing or while you put them together and attach with pins/clips. So, draw these marks on your fabrics with a soluble pen.
You will see I don’t use these marks to sew my pieces. And it’s because I don’t usually use them and I want to show you that without them it can also be done. I did 20 eyes and in every one of them the fabrics matched perfectly at the end of the curve seam.
Another thing to have in mind is that if you do small cuts in the concave curve side (the background one) placing this piece over the eye piece will be easier. You don’t need to do a lot, just one every 1/2″-1″ and be aware it has to be less than 1/4″!
Remember to sew at 1/4″ from the side of the fabrics.
If you don’t have a lot of practice sewing curves I recommend you start sewing by the large eye size and then the medium and finish with the small ones. Since the small ones are the most difficult you will have gained practice with the bigger ones.
Let’s start sewing! Like for the Foundation Paper Piecing section I recorded a video to show you how I curve piecing and you can read all the step below too.
Steps to follow:
- Make the small cuts in the concave curve of the background piece
- Place fabrics one beside the other and turn the background fabrics over the Eye piece for them to be right side together.
- Place them matching the beginnings perfectly.
- Place them at the sewing machine making sure they keep matching.
- Secure the begining with some stitches back.
- Start sewing slowly at 1/4″ from the side of the fabrics.
- While sewing, lift the foot as many times as you need to relocate the fabric. Place the left part of the fabrics you have already sewn toward the back, it means towards the part already sewn. Remember to leave the needle down when you lift the foot.
- While sewing, use your fingers to make the fabrics move in a curved path, pushing hard to them and letting them go in the direction they need.
- Some inches before finishing, check the 2 fabrics will match at the end. If they don’t match, try to relocate the fabric above for them to match as much as possible.
- Sew until the end and secure it with some stitches back.
After sewing the curve, fold your background fabric in its position and press the seam towards the background piece.
Now, join the other piece, triangle one, placing it RST with the pieces sewn before, matching the start and beginning. Sew with 1/4″ seam allowance and secure beginning and end. Once sewn, fold the piece to its position and press the seam.
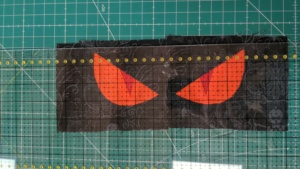
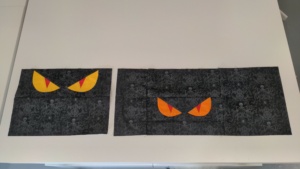
3. Eye block finishing
To finish the eye block you only need to join the 2 mirrored eyes sewing at with 1/4″ seam allowance.
Before joining the eyes make sure the central side of every eye is straight and don’t make “steps”. If it was the case, you can cut slightly this side and make it perpendicular to the top and bottom.
When joining the 2 eyes make sure the central seam marches perfectly. You can check it by eye, or by placing a needle in the seam at 1/4″ from the border of the fabric.
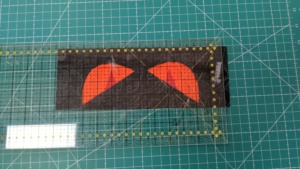
 Since the templates has a 1/2″ seam allowance in the outer sides, now, we need to trim the Eye Blocks to the final unfinished sizes. Check instructions on page 11 of the pattern.
Press the seam joining the 2 eyes as you wish.


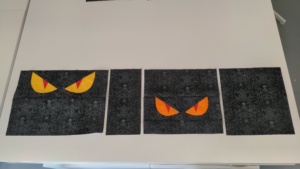
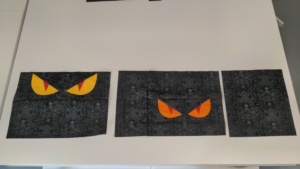
4. Top assembly
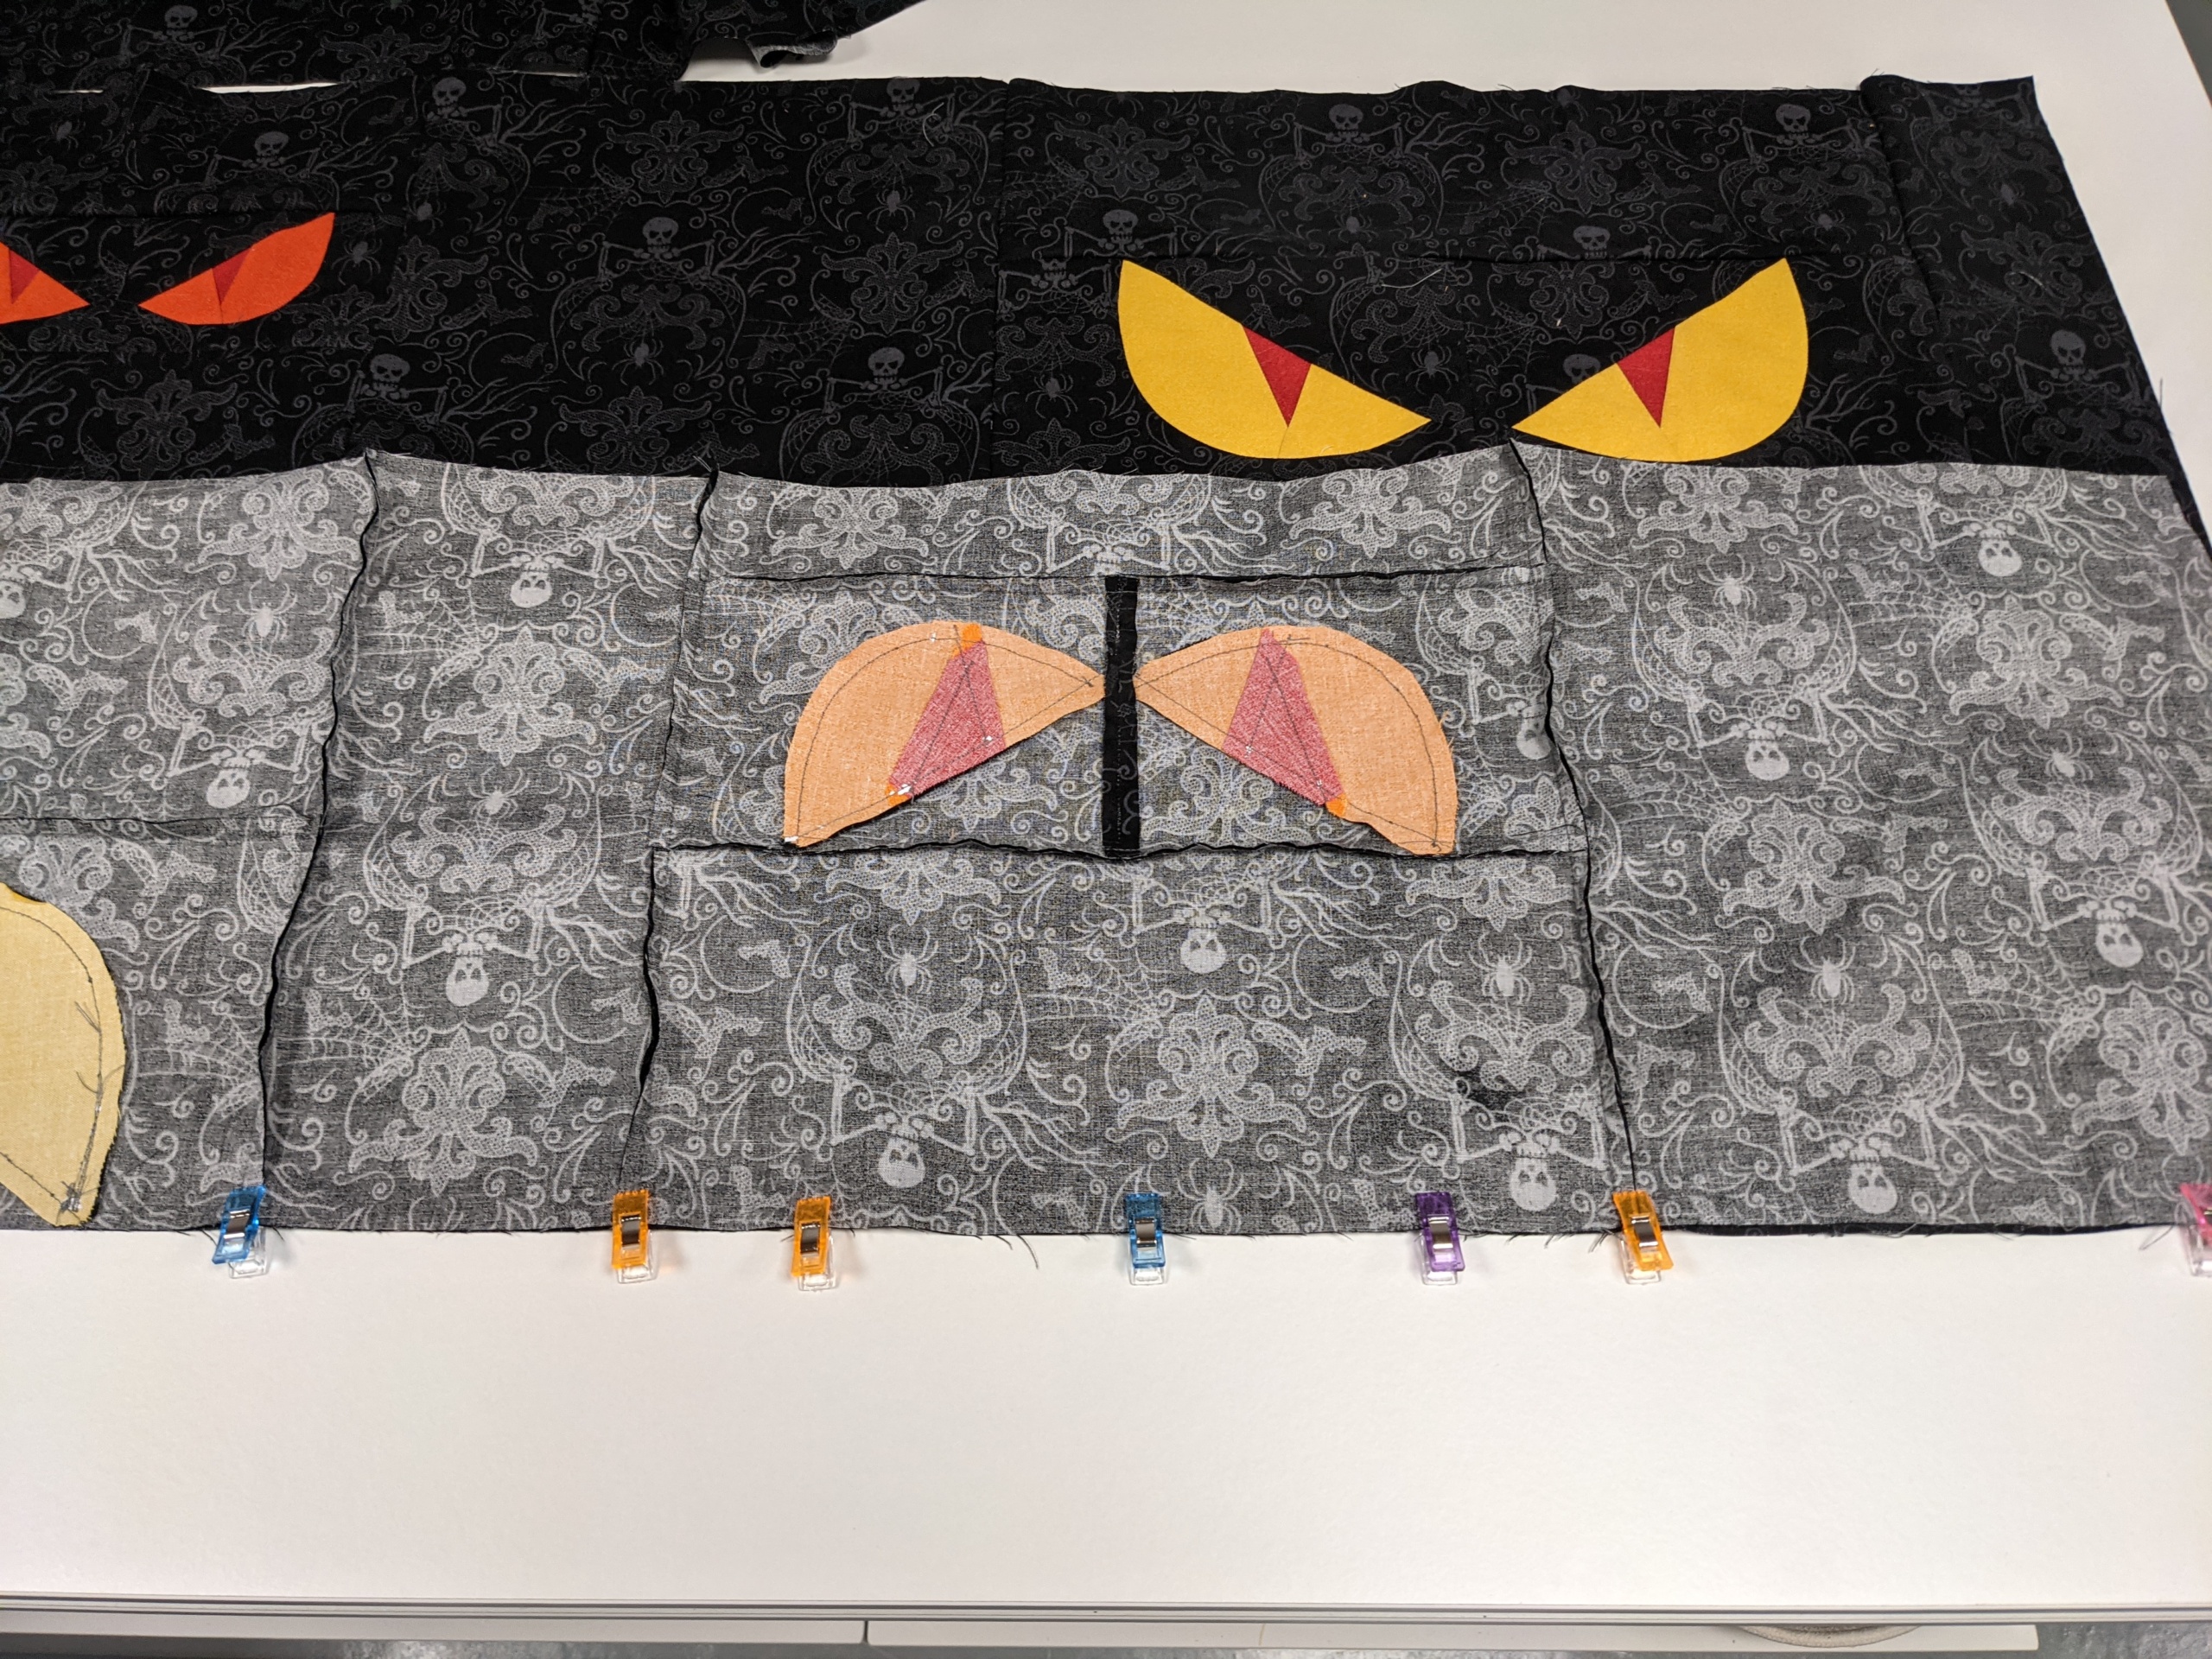
The final step for the quilt top assembly is to join the eye blocks to the background pieces. This step is really simple since there are no blocks to match.
Follow the instructions on pages 12-13-14 depending on the size you are making. the pieces will be joined first by rows and then joined the rows together. In one row, first sew the pieces above and below the eye blocks and then the ones in the left/right side. Place pieces RST making sure the beginning and end matches (you can use pins or clips to help you to keep the fabrics in the right place) and sew with 1/4″ seam allowance.
Once joined the pieces by rows, join the rows together in the same way.
You can press the seams as you desire. I prefer pressing them open, because in this way they don’t show any bulk.
If you customize your project and you are making a completely different block layout, think the pieces are joined by rows and sew first the horizontal seams, it’s the seams that join the block eyes with the above and below pieces, and finish joining the pieces in the left and right/left sides of the eye blocks.
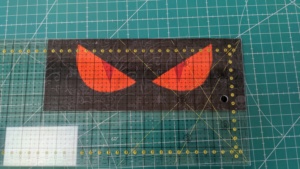
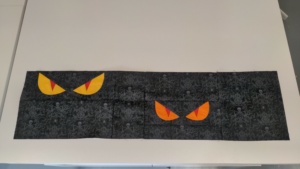
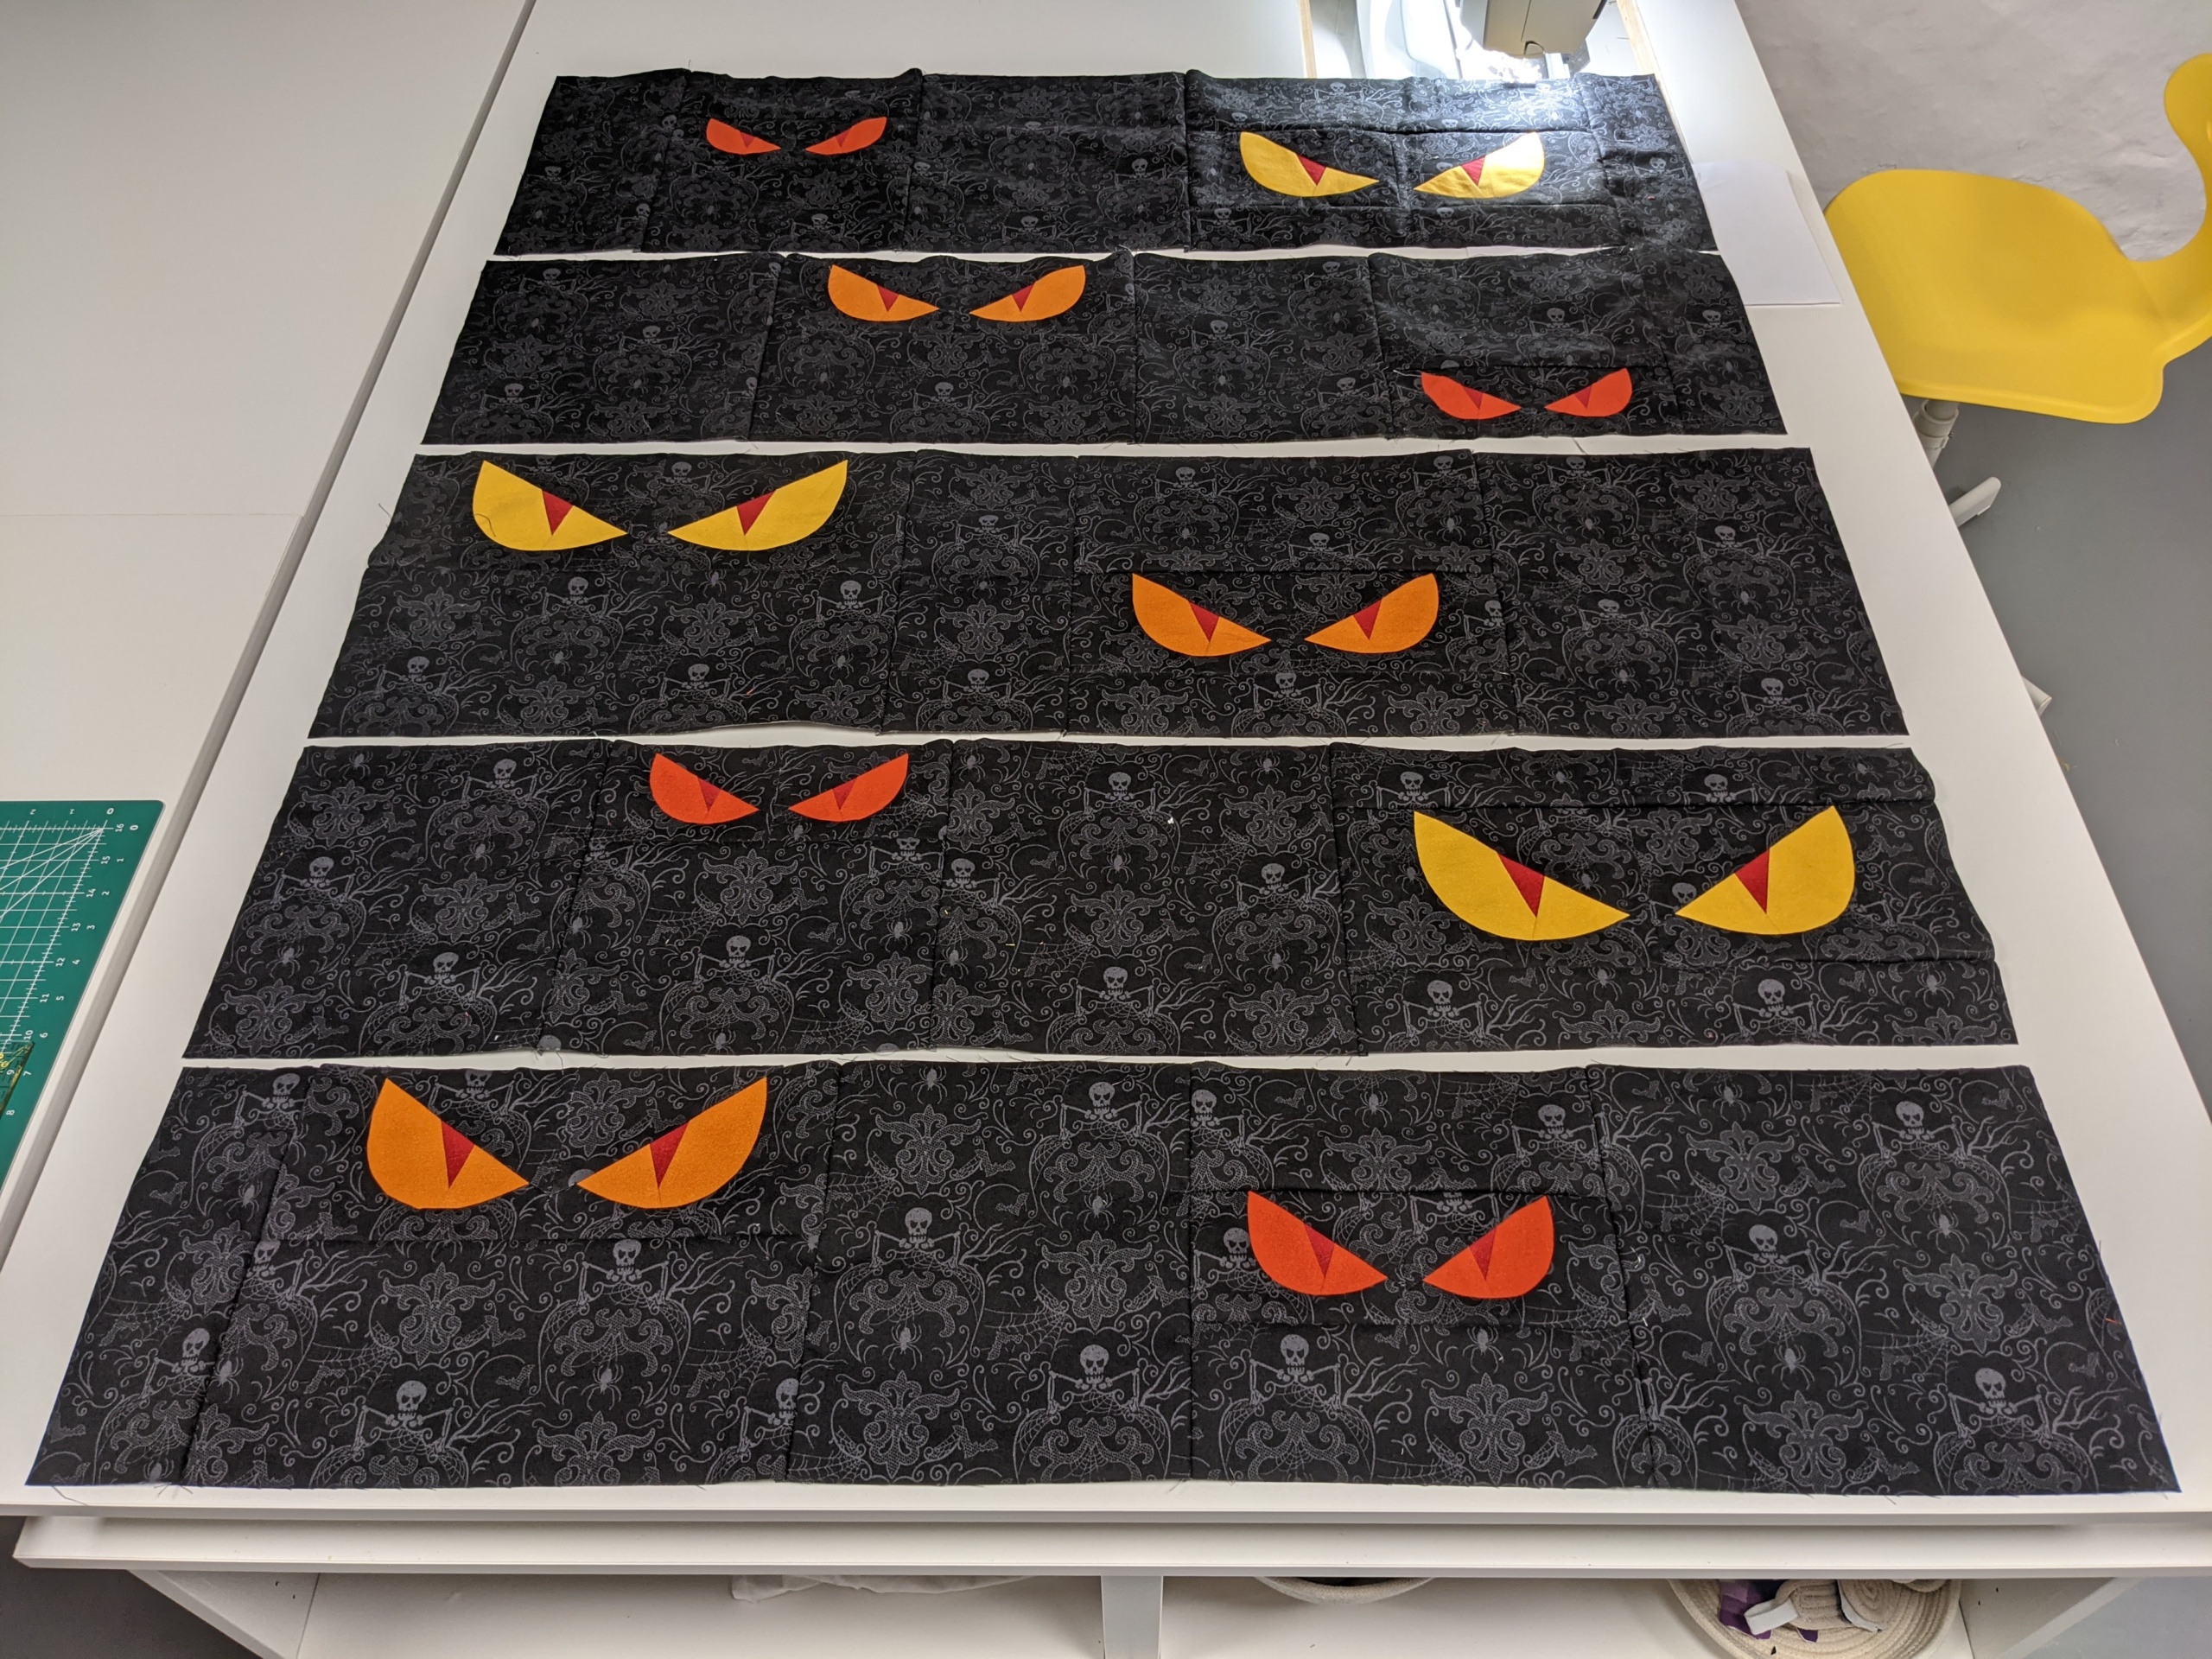
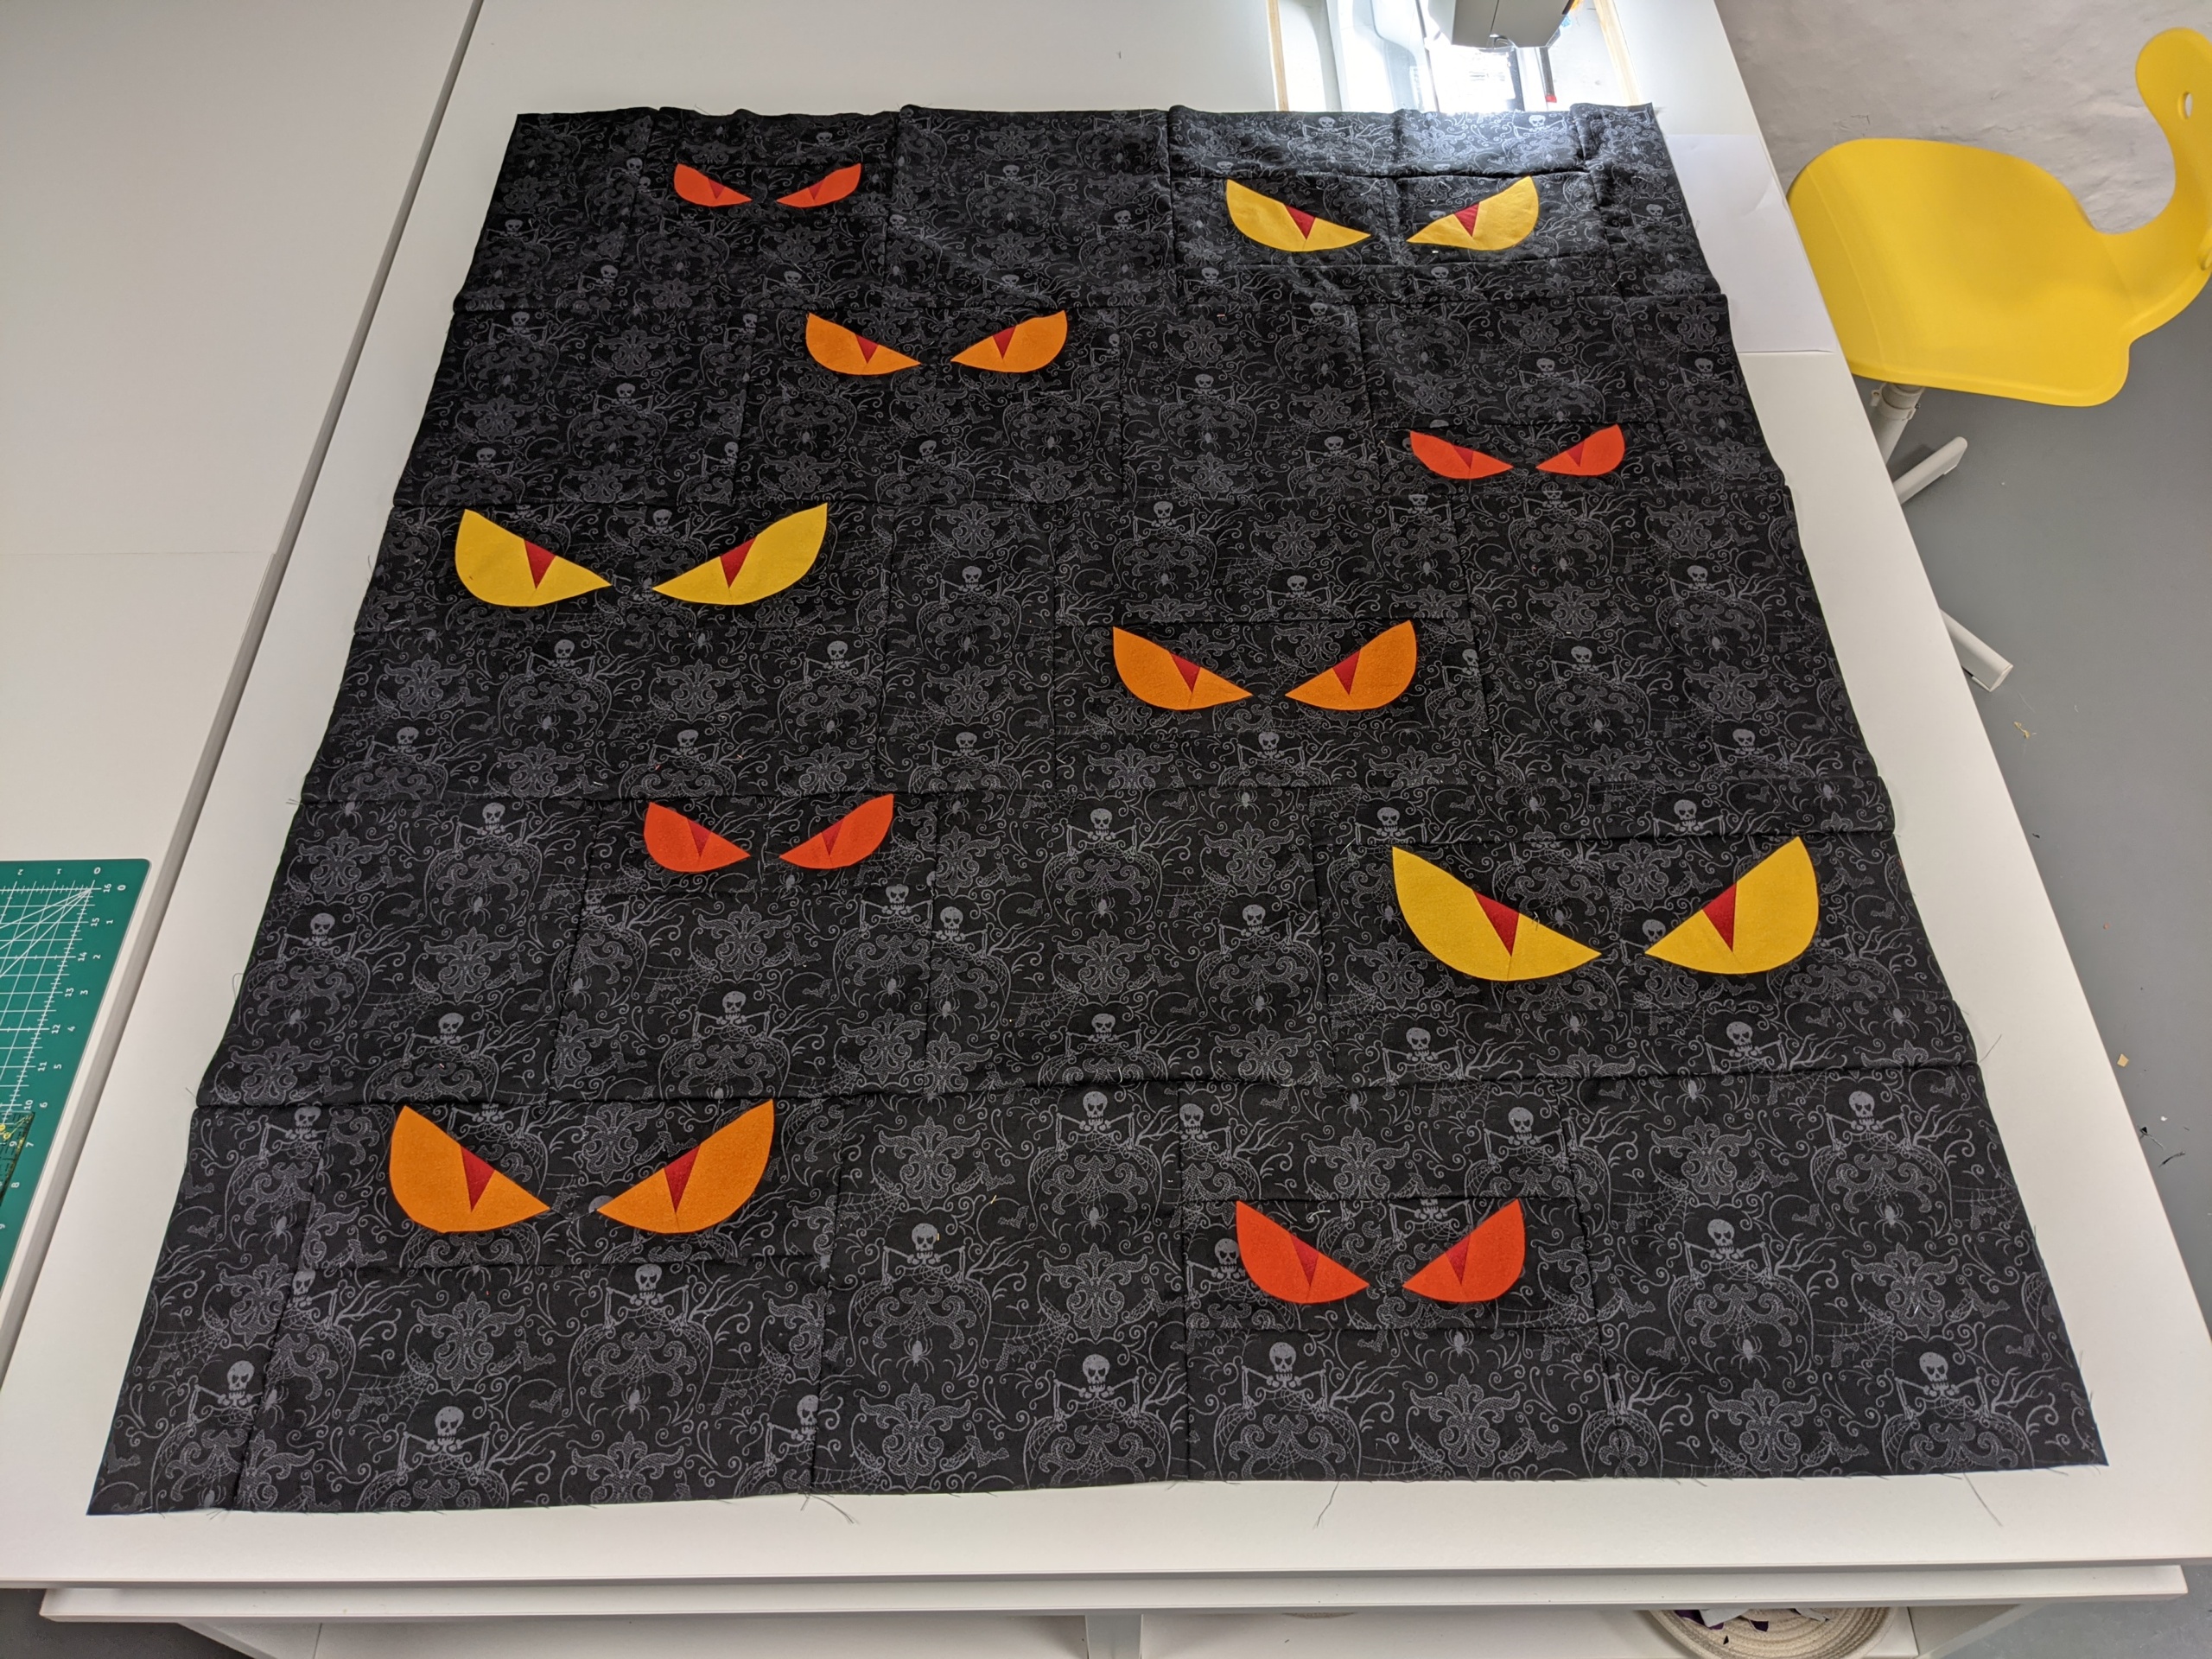
And here it is my final top assembled and ready to start quilting next week!
I can’t wait to see your progress in this piecing Stage. I am here and on instagram (@amarar_creacions) to help you solve any questions you could have about the pattern or about the techniques, and I will be really happy to chat with you.
And if you are not yet in the Creepy Eyes QAL, you can still join us! Make a fun and fast Creepyp Eyes project. Get the Pattern and sign up to don’t miss any new about it!
And remember to share your progres, using the hashtag #CreepyeEyesQAL, and participate in the giveaway of a $50 gift card for quilting supplies from Sewing by Sarah As much shares you make, more entries for the giveaway and more possibilities to win!
When you have all your fabrics joined together, visit the next Stage to see a lot of tips about how to finish your project.
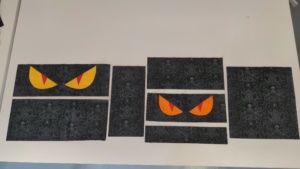
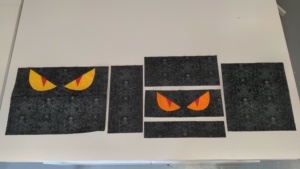
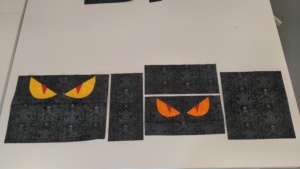
I’ve gotten my eyes sewn and am busy adding the background. I didn’t read the cutting directions correctly and have to cut a few more pieces.
The foundation paper piecing part of this project is really simple. If you need me to help you with the pattern please tell me. There is a lot of information there. I tried to explain everything very carefully. In the QAL blog post and the videos you can see it explained too. Thank you so much for participating and sharing with me!