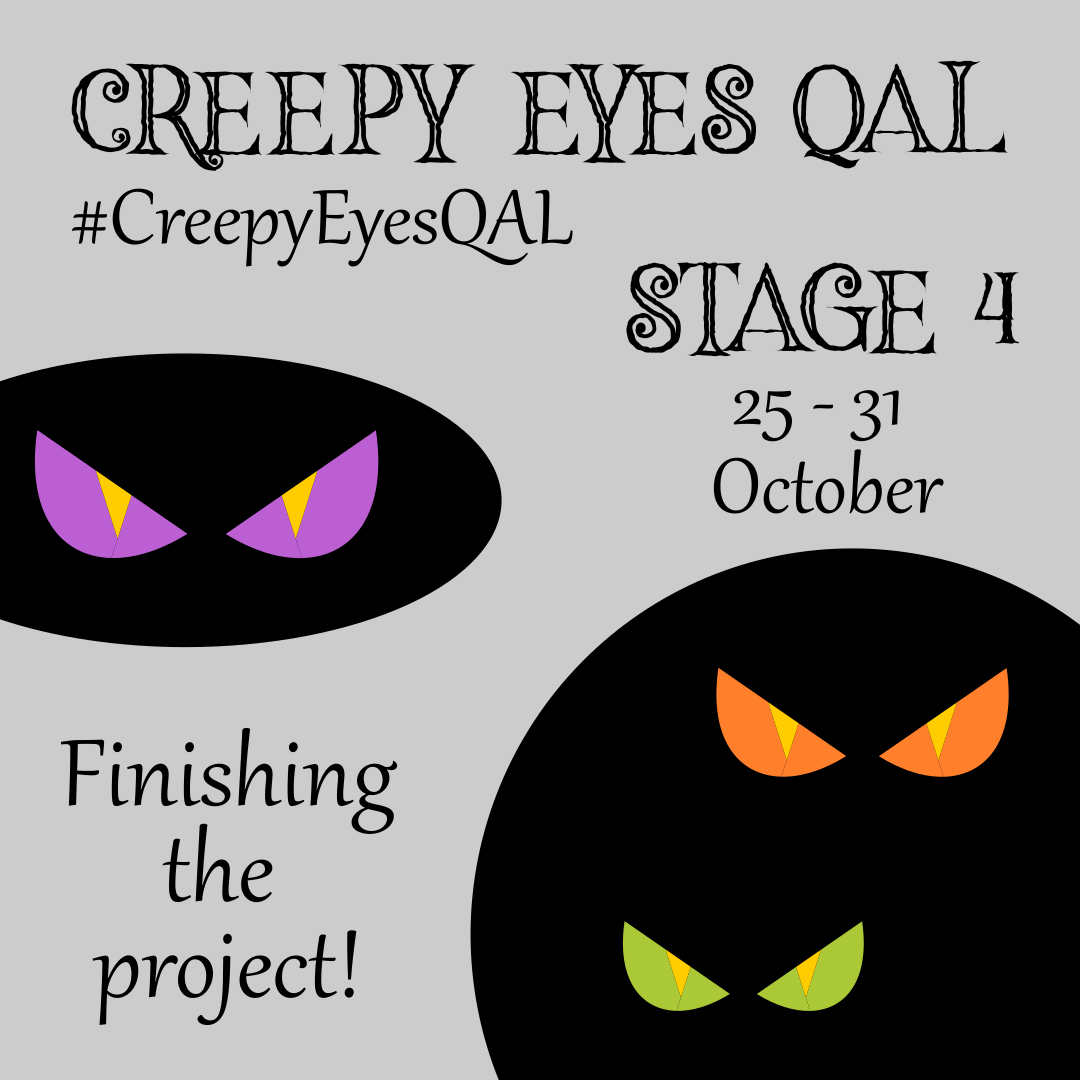
And here we are! At the last Stage of the Creepy Eyes QAL: Finishing the project! It’s been a really exciting week seeing all the eyes growing around the world! Now it’s time to finish the project. So what are you gonna do? Quilt your quilt? Make a pillowcase? A pouch? A fabric bag? A set of mug rugs? I can’t wait to see all your final photos!!
At the end of Stages 4 there will be a big giveaway sponsored by Sewing by Sarah. Share your porgress on your sewing and finishing the project parts and you can win a $50 gift card for quilting supplies from this amazing online shop. Take a look at her website and show her a lot of love on social media @sewingbysarahstore.
In this last blog post of the Quilt Along, you will find suggestions and links to tutorials about how to finish several kinds of projects. Sure before starting this QAL, you already knew what you were gonna sew, and I hope all these links will help you to finish your project.
I want to thank all the quilters that have all those great tutorials in their blog and youtube and work so hard to give to the quilting world all this free content!
I have ordered all this information by sections, depending on the project you want to finish. Let’s start!
1. Quilt
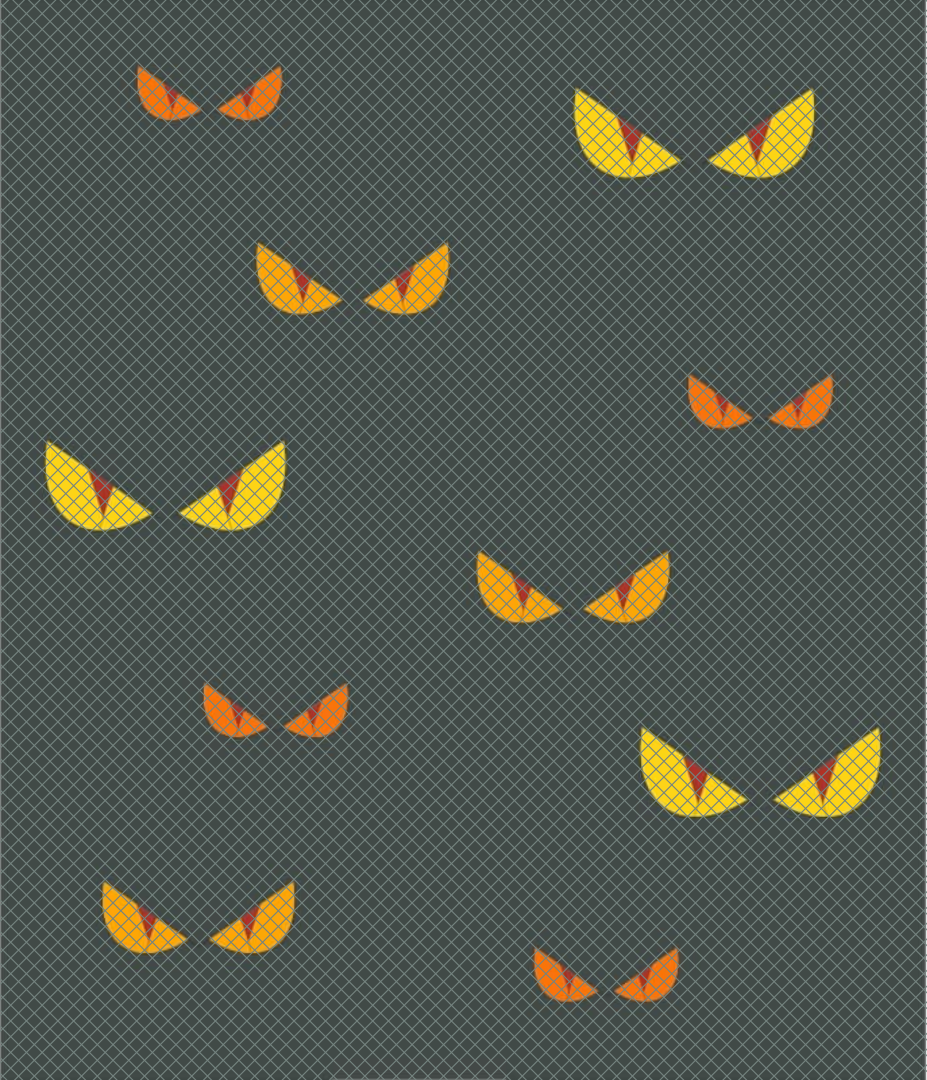
The Creepy Eyes pattern has directions to make a baby quilt size and to customize it to the size you want. After making the top it’s time to quilt it.
To quilt a top we need first to prepare the backing: Cut the backing length, as required in the pattern. If you need to join the pieces, use a ½” seam allowance. A pieced back with leftover fabric is also a great option, and can reduce waste.
Here a blog post about how to piece your back with a lot of information: How to Make Quilt Backing From Any Fabric by The Spruce Crafts
Here it is an interesting video about cutting the selvetges of the backing pieces: Quilting – How To Prepare Backing by Margaret Leuwen Quilting
Now it’s time to make the sandwich: Place the backing wrong side up. Next, centre the batting. Place the quilt top right side up, centred on the batting. Baste as you prefer. Make sure the backing is bigger than the batting, and the batting bigger than the top. The differences between them will depend on the size of the project, and if it has to be quilted on a domestic machine or for a long armer.
An interesting article about it: Making a Sandwich by A Block Away Quilt Shop
In this part we can talk about how to place the different layers one over the other. I have tried some different techniques: on the floor fixing the backing first over the playing carpet of my children with pins, using wood sticks and roing every one of the layers to a wood stick… This one works pretty well. But I’ve seen people doing it holding the layout on a wall for example. There are a lot of ways to do it. Here I let you some videos to show you some different ways:
Attaching the backing to a surface, flor o wall: Easy Way to Baste (Sandwich) a Large Quilt | Quilting Tutorial with Amy Gibson
WALL BASTING TUTORIAL USING SPRAY ADHESIVE by Christa Quilts
Using Pool Noodles by Peter Rosenfeld
Large Quilt on a Small Table by Man Sewing and he uses bicycle clips to roll it and be able to quilt it easier with a domestic machine. Brilliant!!
Do you need to join 2 pieces of batting together? I have made it before and you just need to lay them one beside the other and sew them together with a zig-zag. You also can also fuse the pieces together. To learn more check the article: 2 Ways to Join Quilt Batting (and use up small pieces) by She Can Sew
Time to baste the sandwich!
In this video you can see 6 different ways to baste a quilt sandwich: 6 WAYS TO KEEP YOUR QUILT SANDWICH TOGETHER by Just Get it Done Quilts
I want to add these 2 home recipes to make natural spray basting. I have tried it and it really works! After Quilting you wash your quilt and everything is perfect!
Chatterbox QuiltsHow to Make Homemade Quilt Basting Spray by Chatterbox Quilts
How to Make Homemade Spray Baste by HollyAnne Knight at String & Story
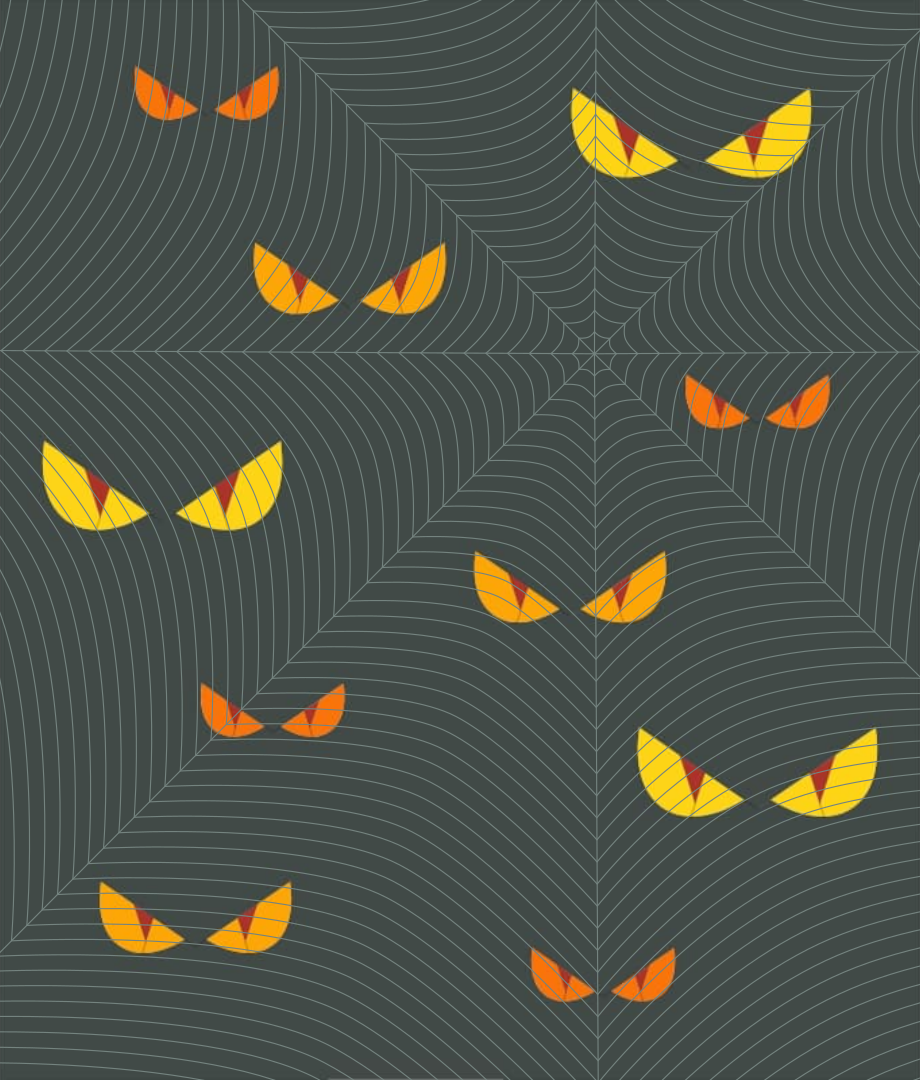
And now it’s time to Quilt the Sandwich! This is a magic part of the quilting process too. Here is where your imagination starts working again and you give a really unique touch to your quilt.
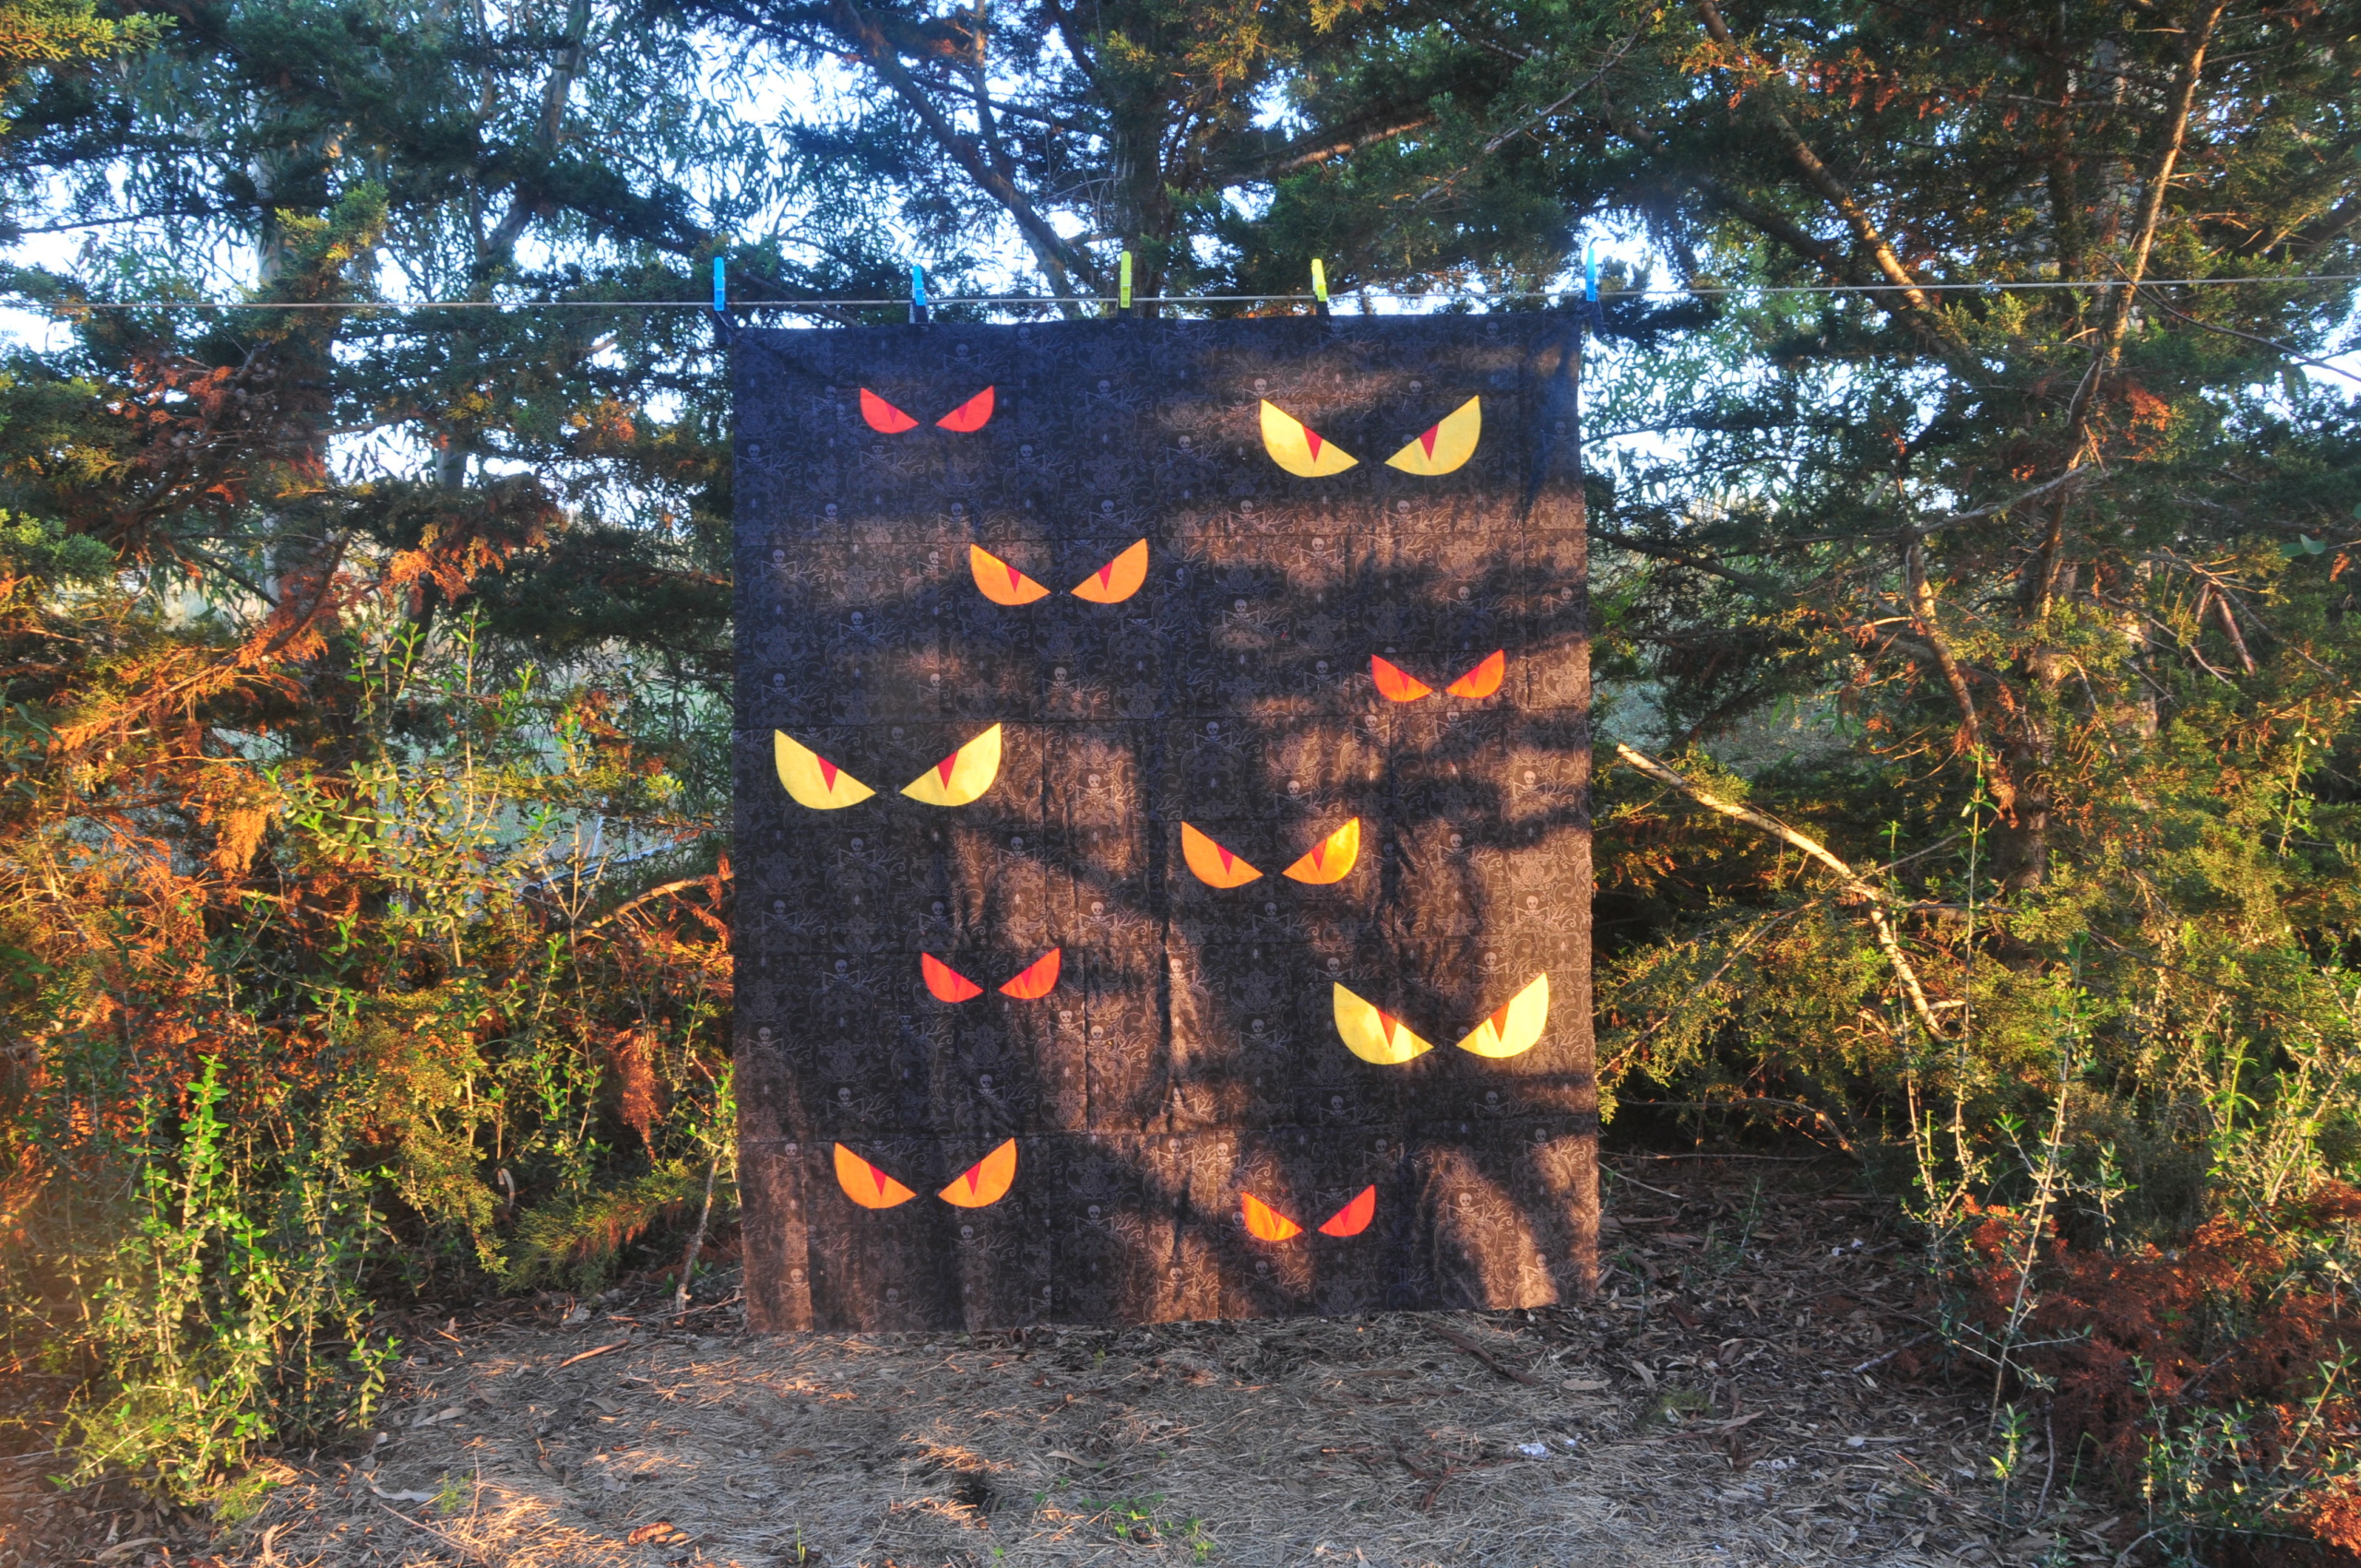
I love the minimalist quiltings using straight lines but I also love creating my own quilting for the quilts depending on the design. If it’s a geometric design I usually use the design to draw an original quilting. For my Creepy Eyes baby quilt I’ve thought of a web design to quilt it because I think it fits the spooky season very well. But also when i was drawing it I tried to make a spiral and I also really love it. I have drawn it in a graphic software so you can see how it will look like.
Here you have other ideas about how to quilt the baby size of the Creepy Eyes. They are very simple and easy to make.
The quilting world gives us a lot of possibilities to learn how to quilt. I can’t show you all the resources but just mention some interesting resources:
- Leah Day has an amazing website where you can find a lot of information about walking foot and free motion quilting. The 365 free motion quilting design is really amazing! I have always wanted to do a daily project making one of those quilting in small panels to turn them into a big quilt!! Let’s see if some day I have time to do that!
- Melisa Marginet has 2 books about walking foot quilting which are really amazing and can give you a lot of options. She also organises courses and QAL.
- If you are more for the free motion quilting you can check on String and Story which have courses for you to initiate in this technique.
- And you can’t miss the work by Karlee Porter. She makes Graffiti Quilting and she was the one who inspired me to try practicing free motion Quilting and show me all the possibilities in this world.
After quilting the top we need to trim the batting and backing and square up the sandwich.
To finish the quilt it’s necessary to bing the quilt or face the quilt. I want to show you 2 techniques that will give the quilt different looks.
To bind the quilt in the traditional way you have to sew the binding strips together with a 45 degree diagonal seam. Trim the seams and press. With the wrong sides facing, fold the binding strip in half along its length. Place the binding on the front of the quilt, align the raw edges and attach the binding in place sewing a ¼” from the edge. Fold the binding to the back of the quilt, pin or clip it, then stitch it in place either by hand or machine.
Check this video about how to sew together the bid strips and attach them to the quilt. It shows you how you can use a plastic over your machine to help you to sew the right way and how you can cut the batting and backing in 2 different ways. It’s interesting! How to Bind a Quilt – 6 Simple Steps by HeirloomCreations
And here an interesting video about hand binging: How to Hand Bind Your Quilt | Fat Quarter Shop
What is face a quilt? It’s a binding technique that hides the binding on the back of the quilt and gives a modern look. I love it, and for some quilts it gives a really modern touch to it. Here you have 2 tutorials about it:
Basic Facing : How To Add A Facing to Your Modern Quilt by CandTPublishing
Facing with pockets and an additional seam before folding the bind: How to Add Facing to Your Quilt by American Patchwork & Quilting
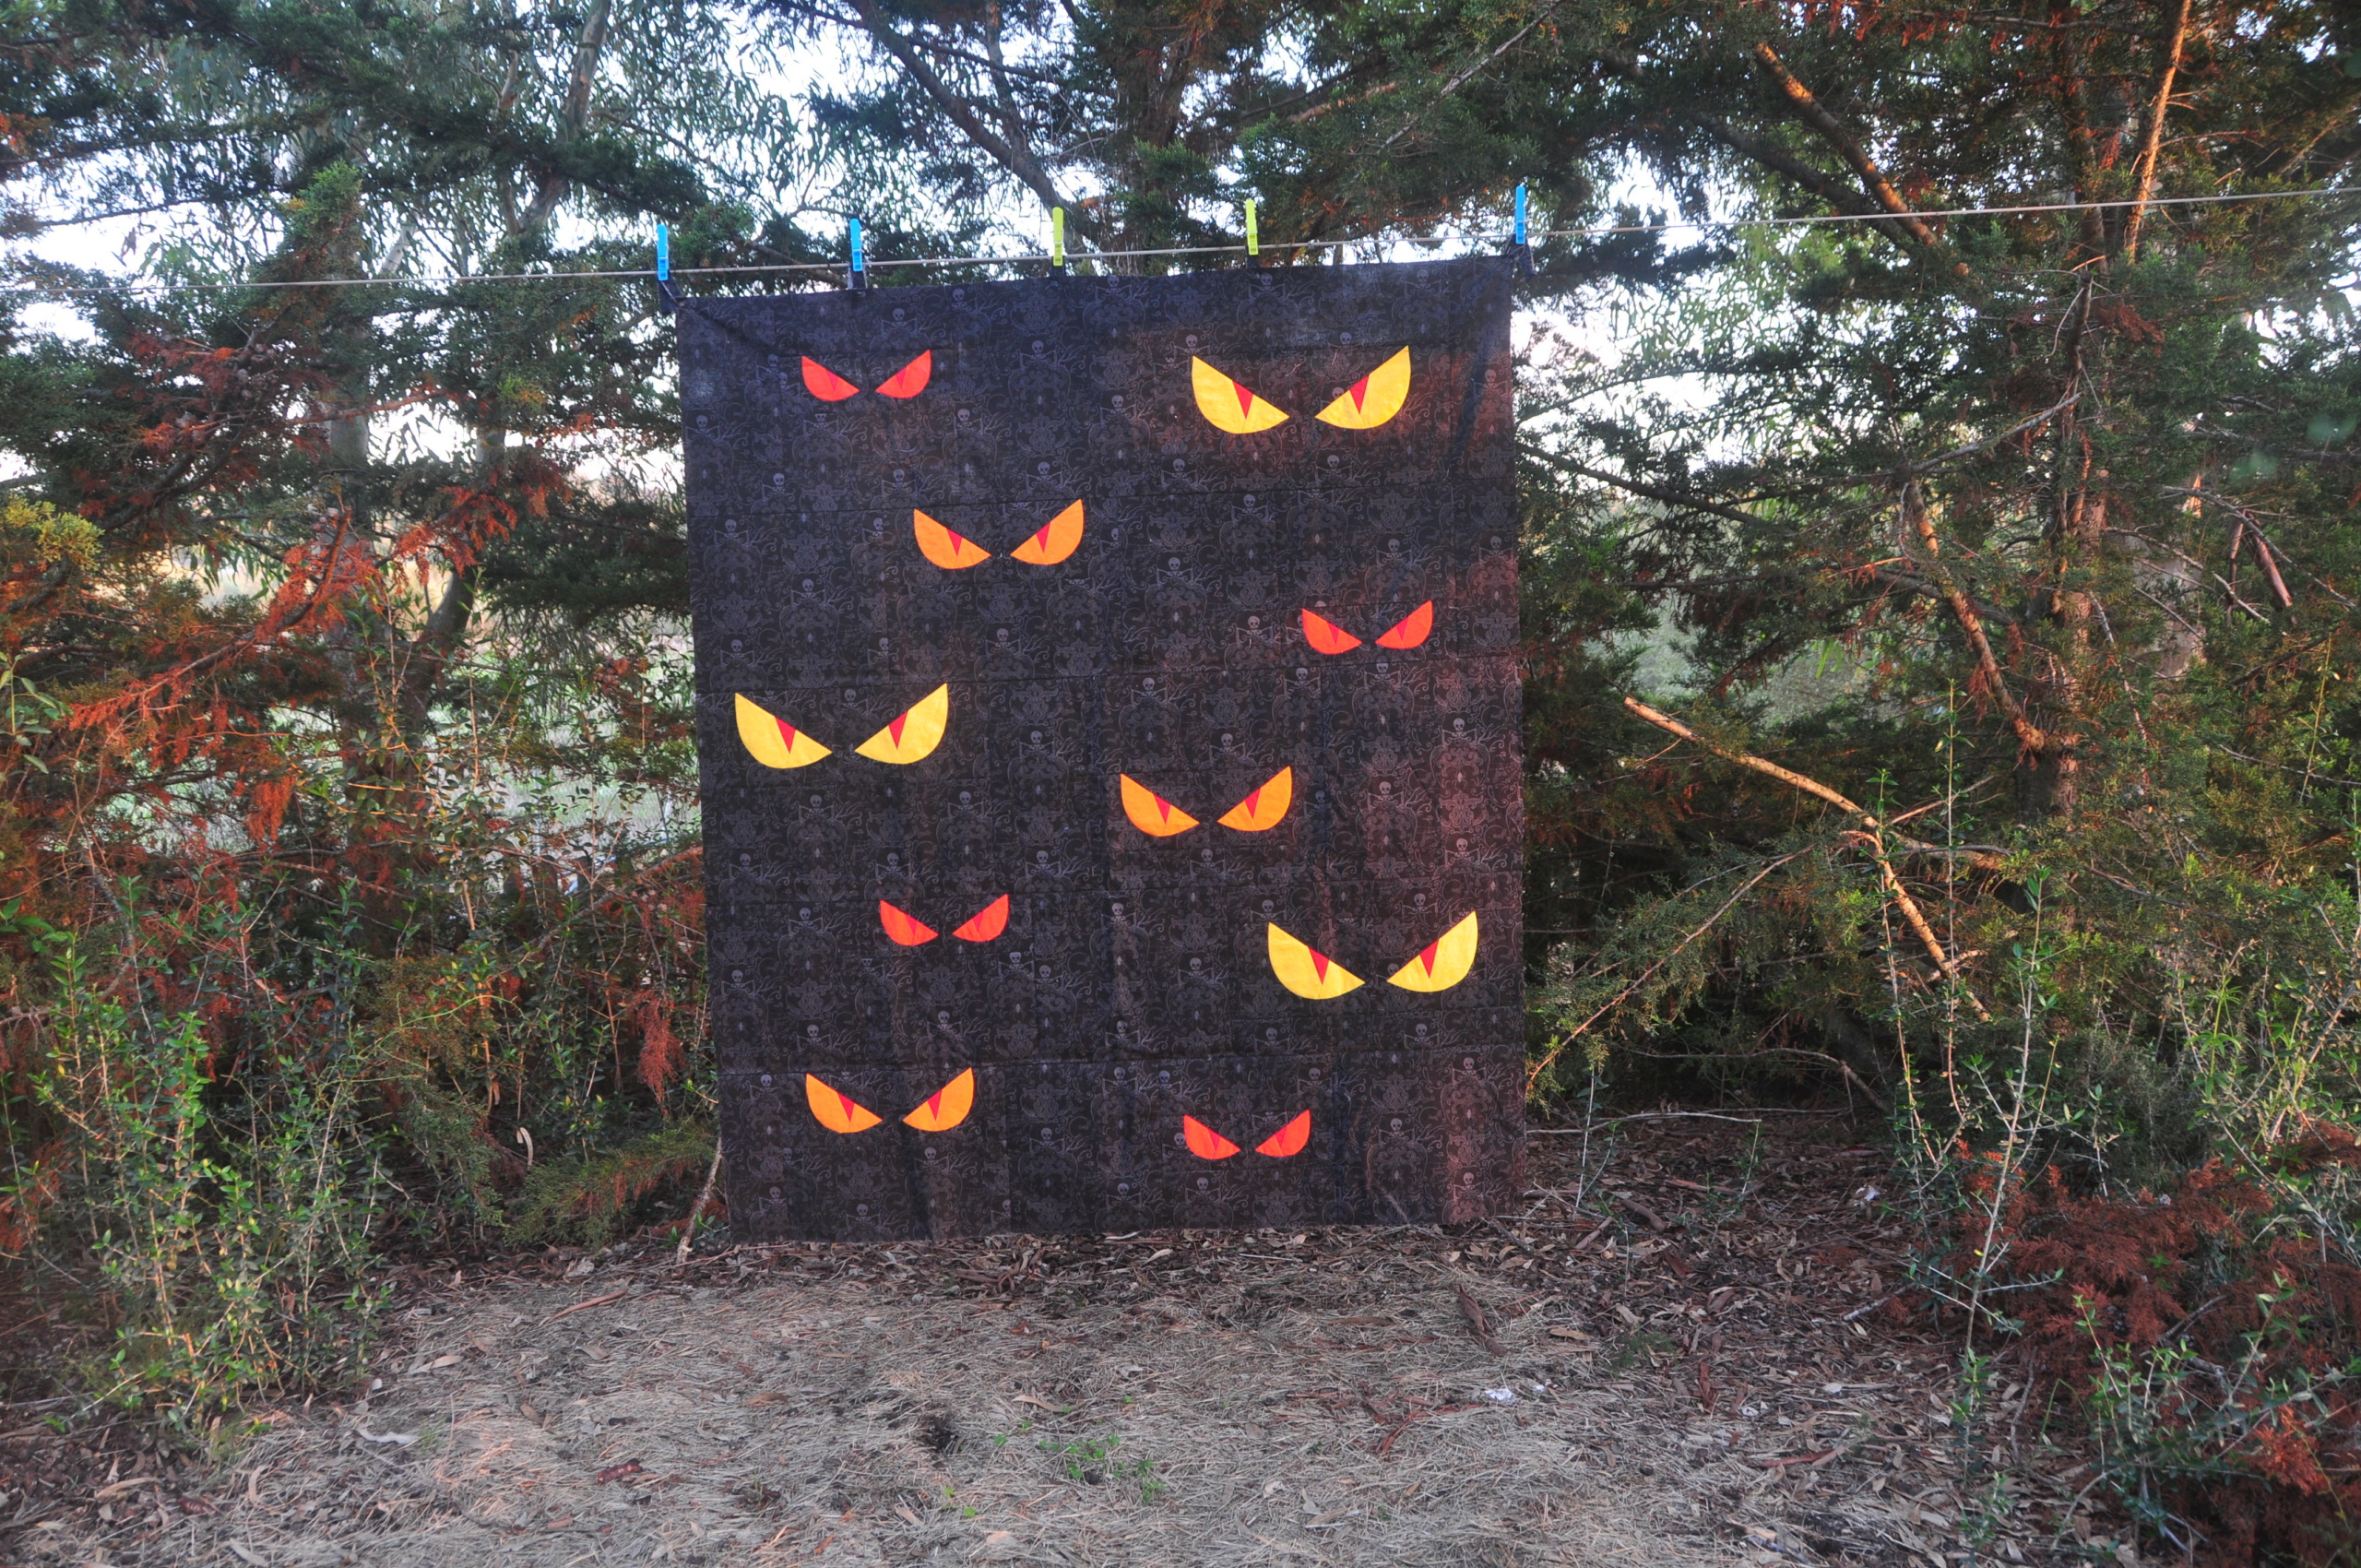
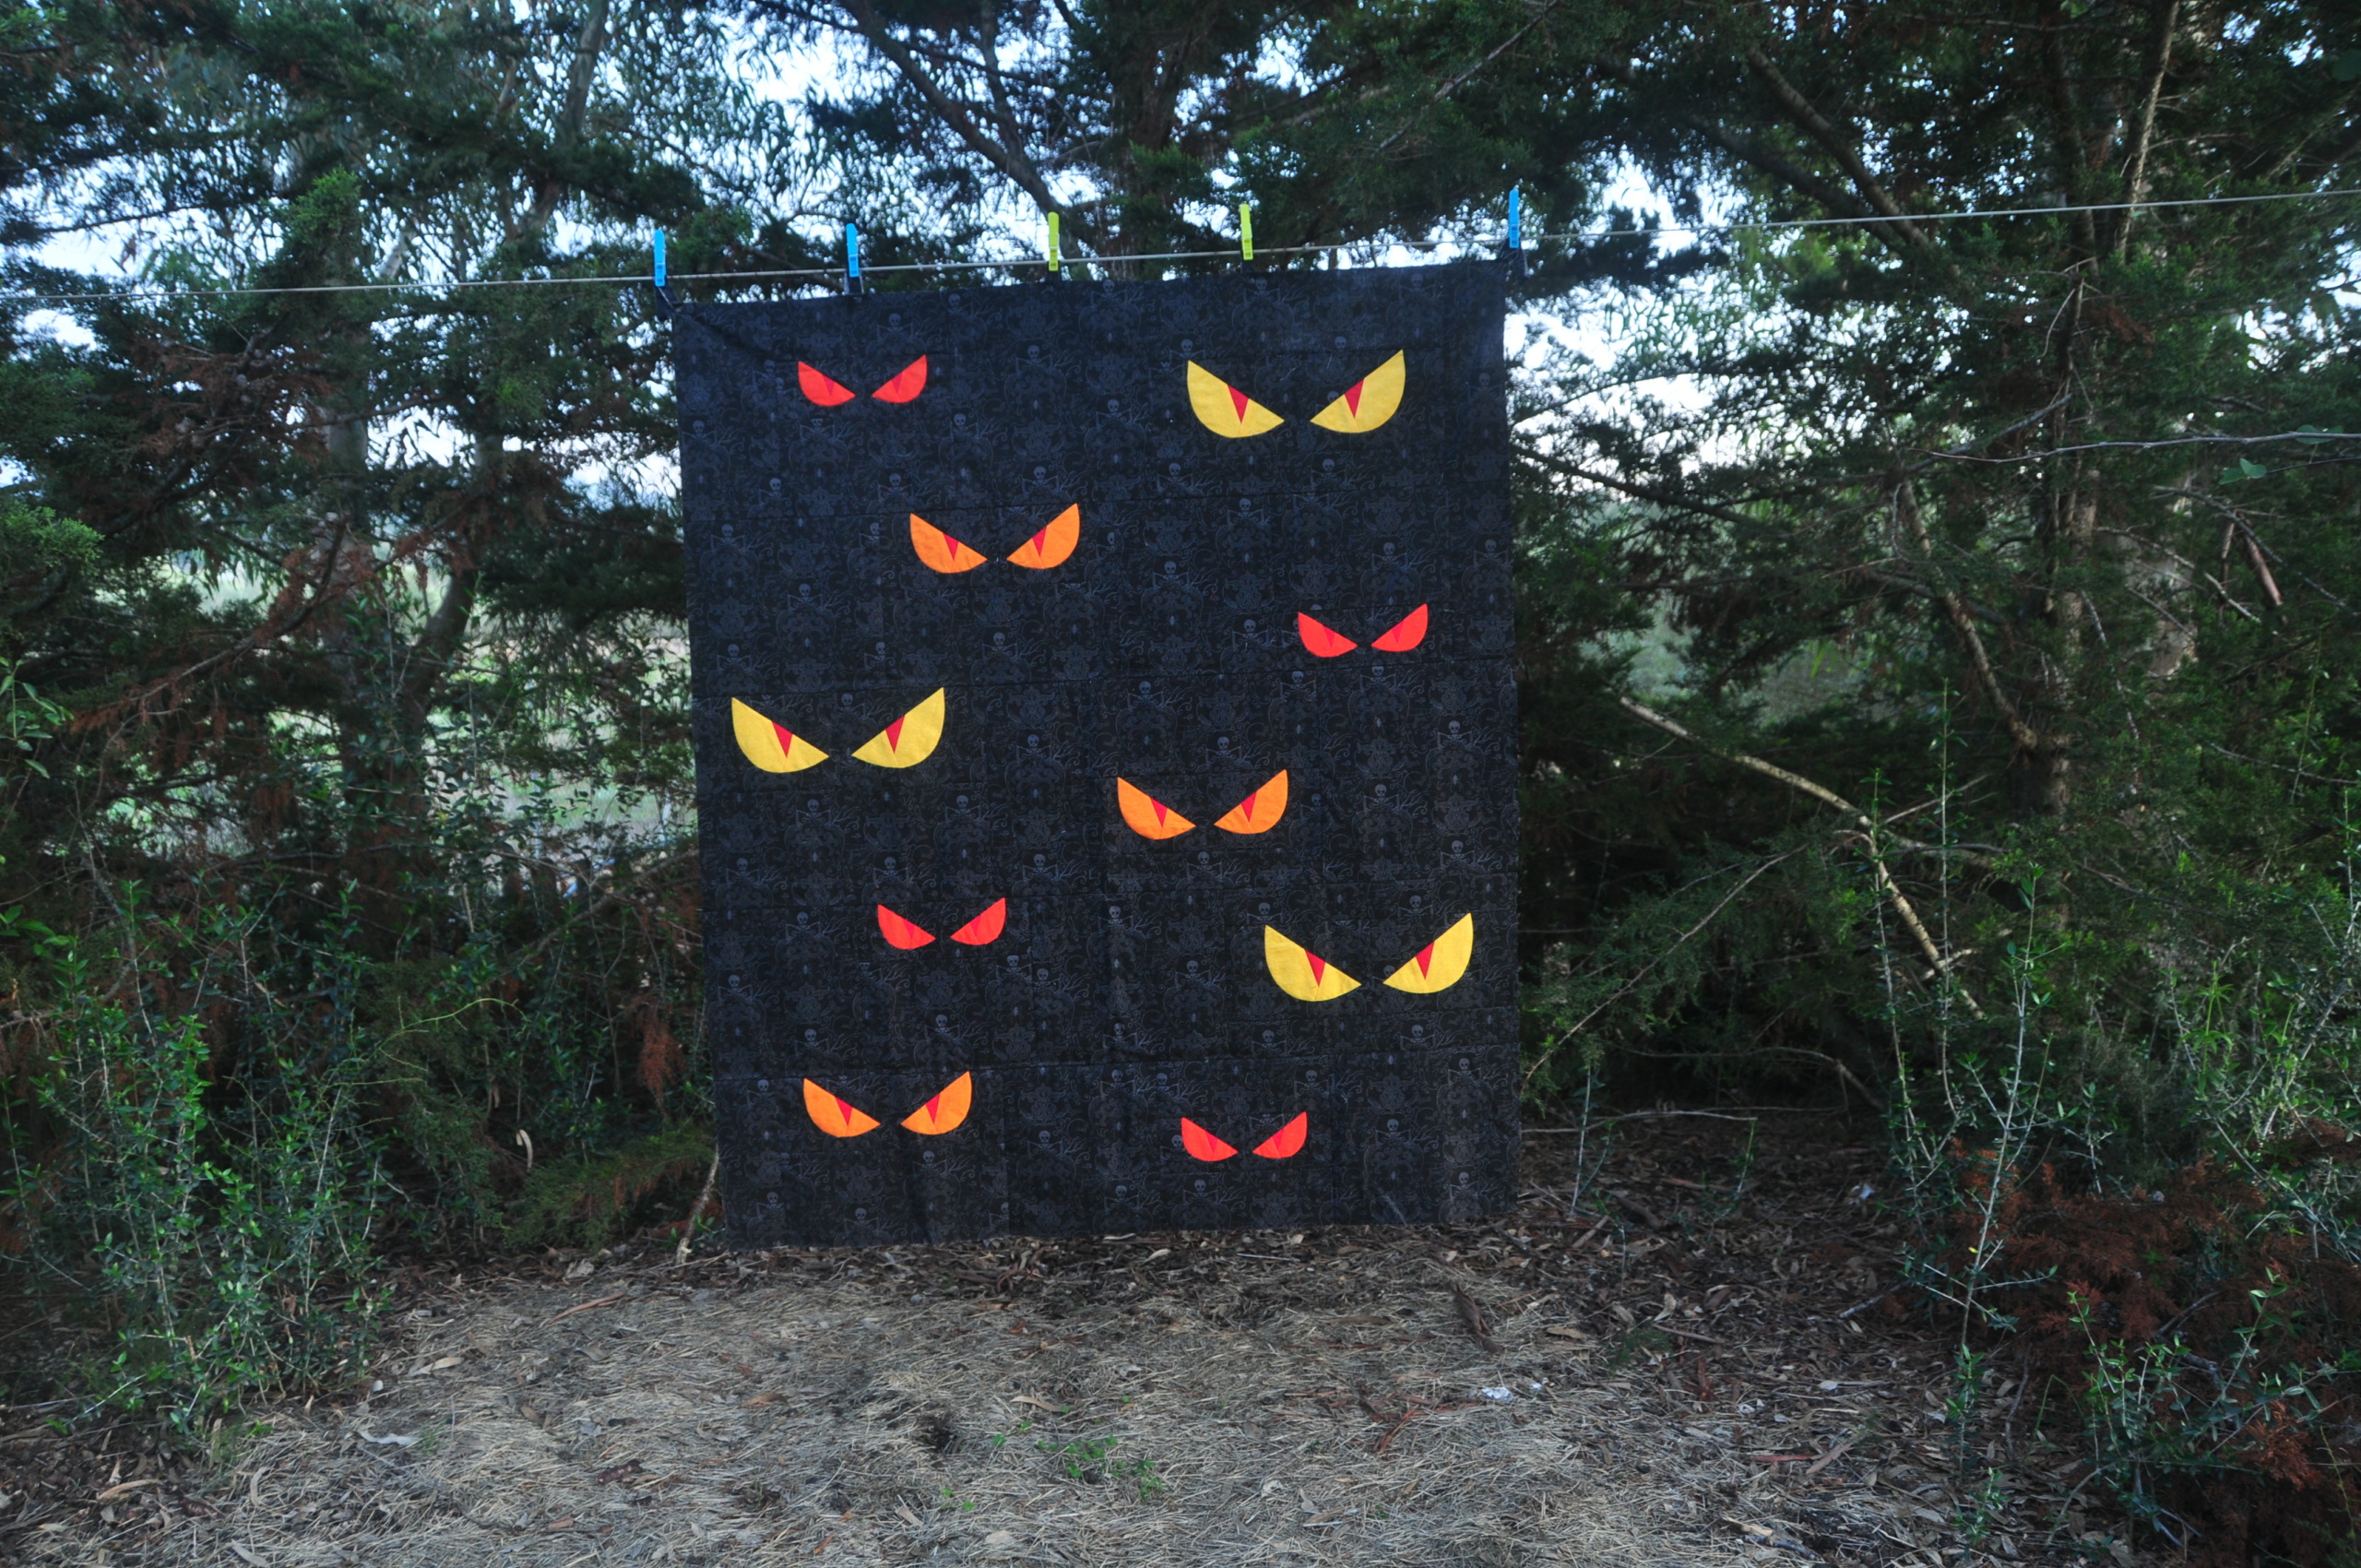
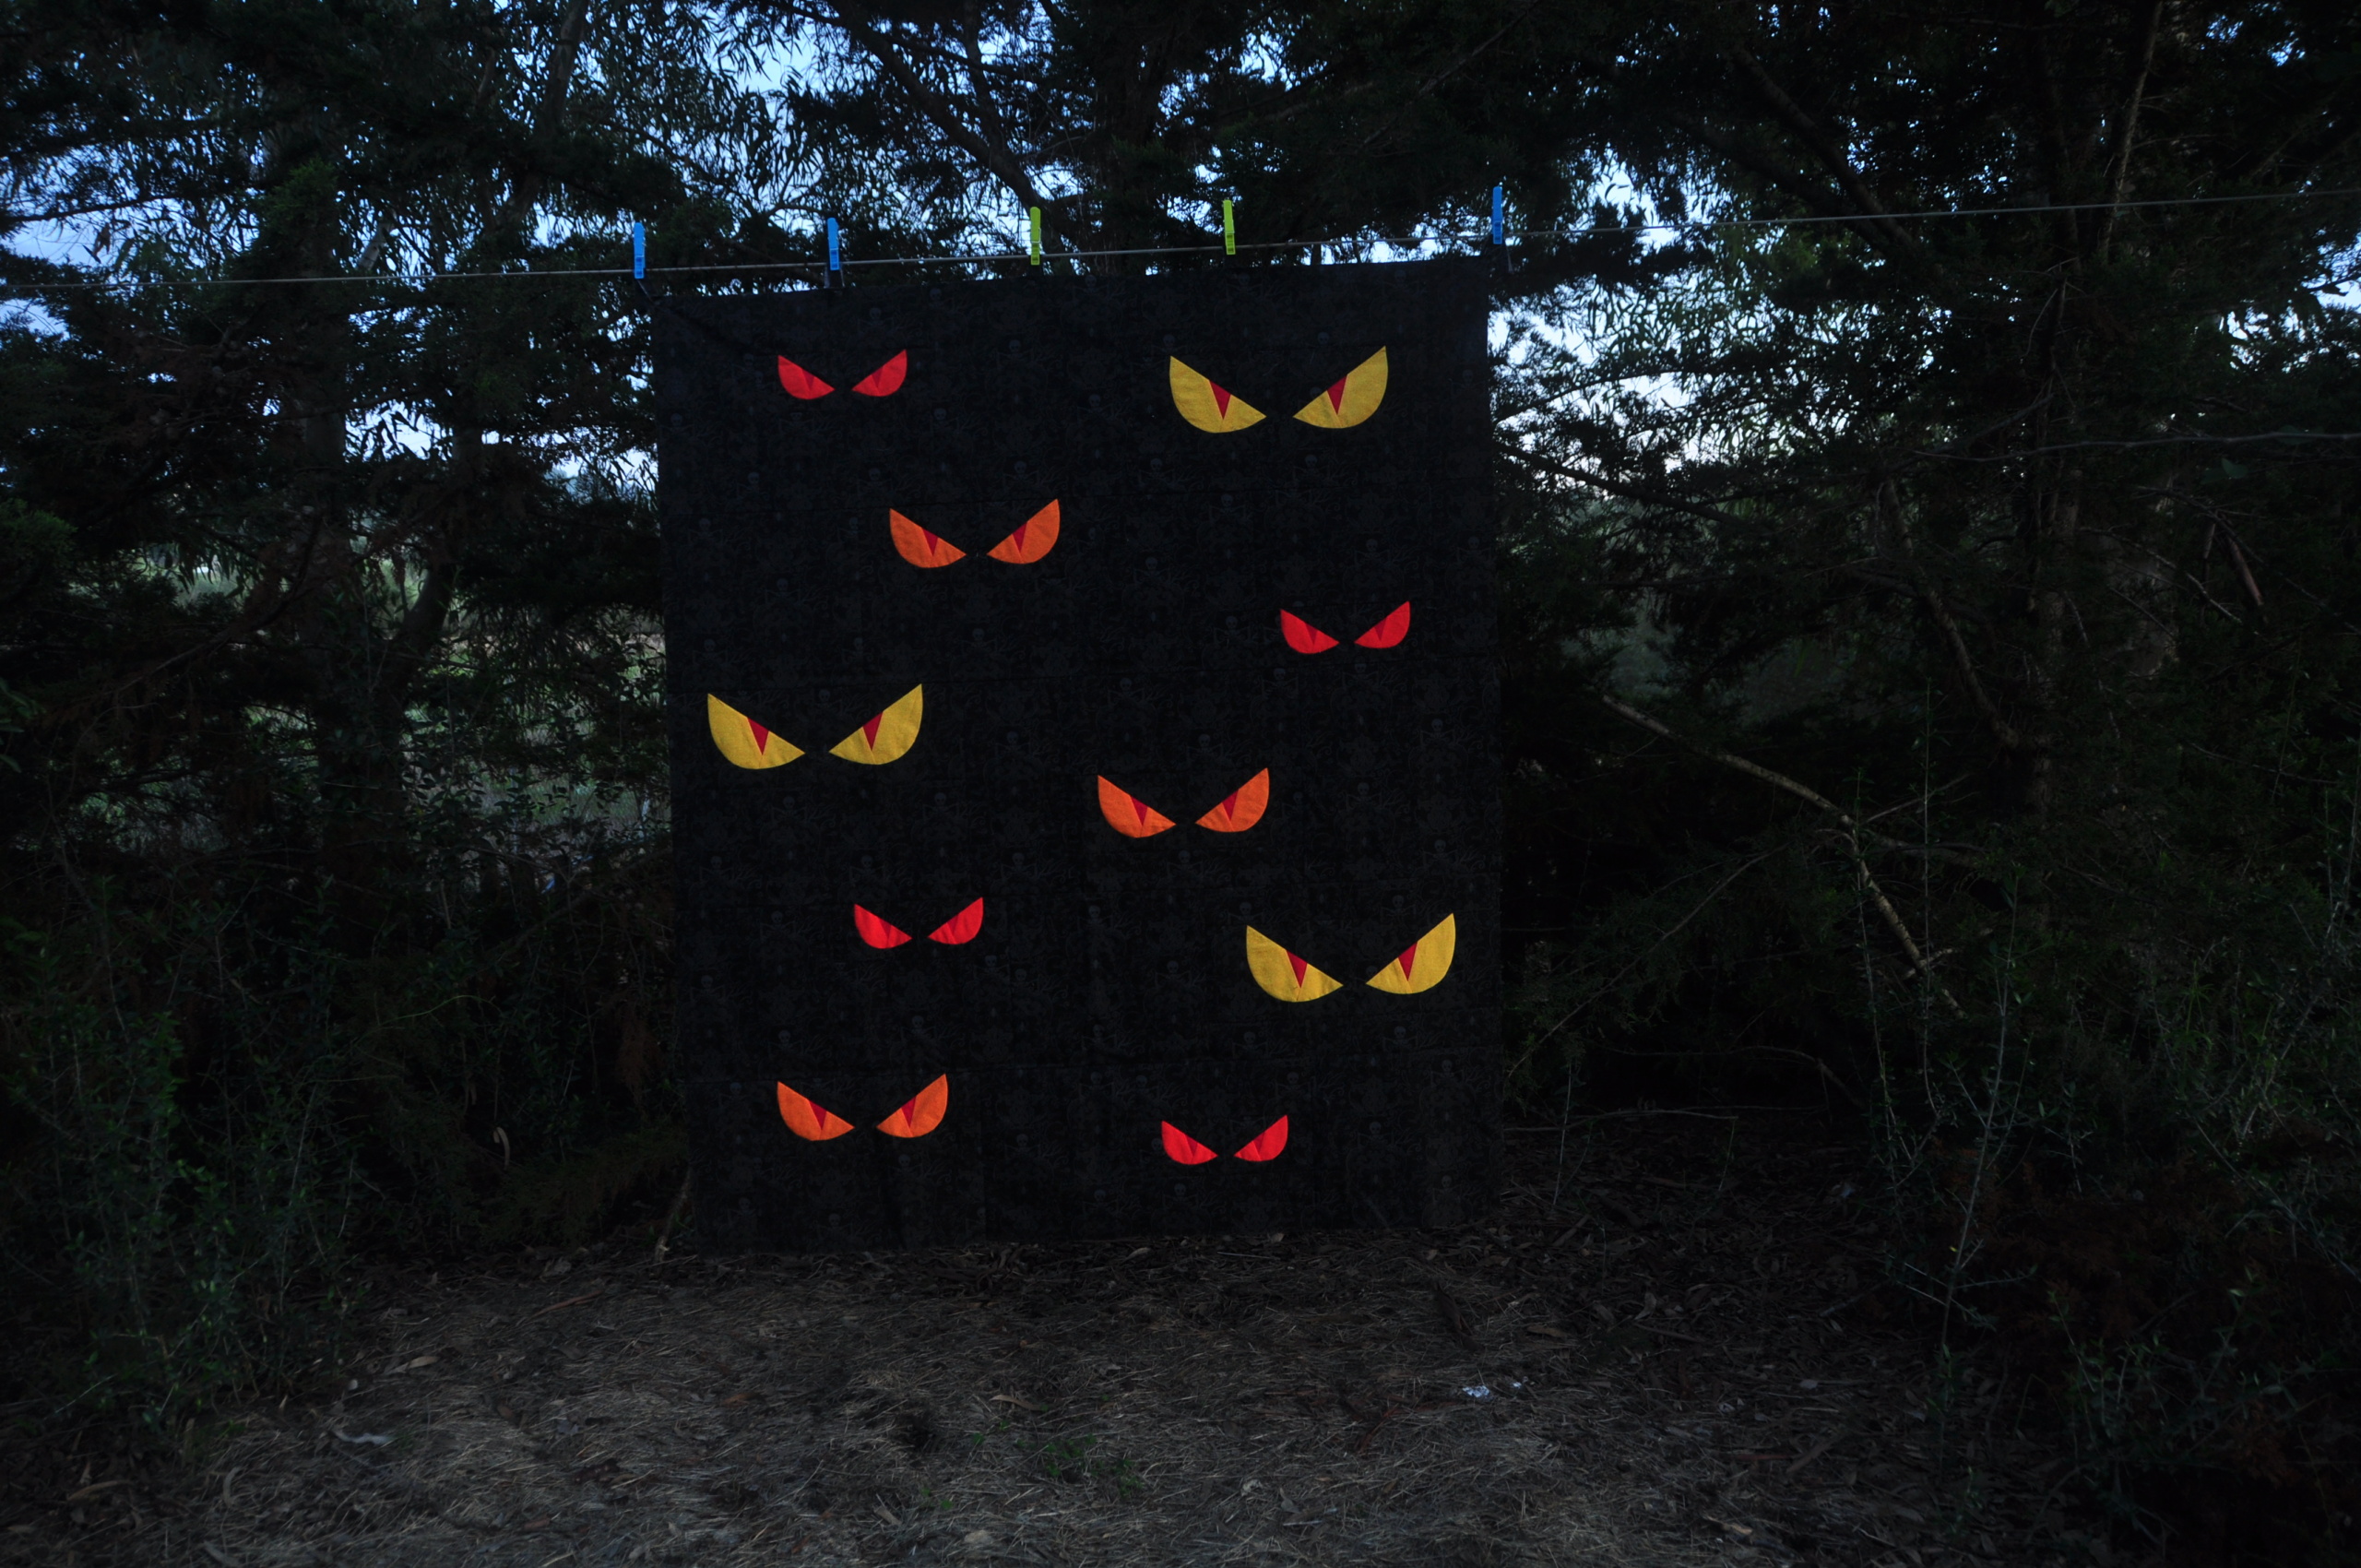
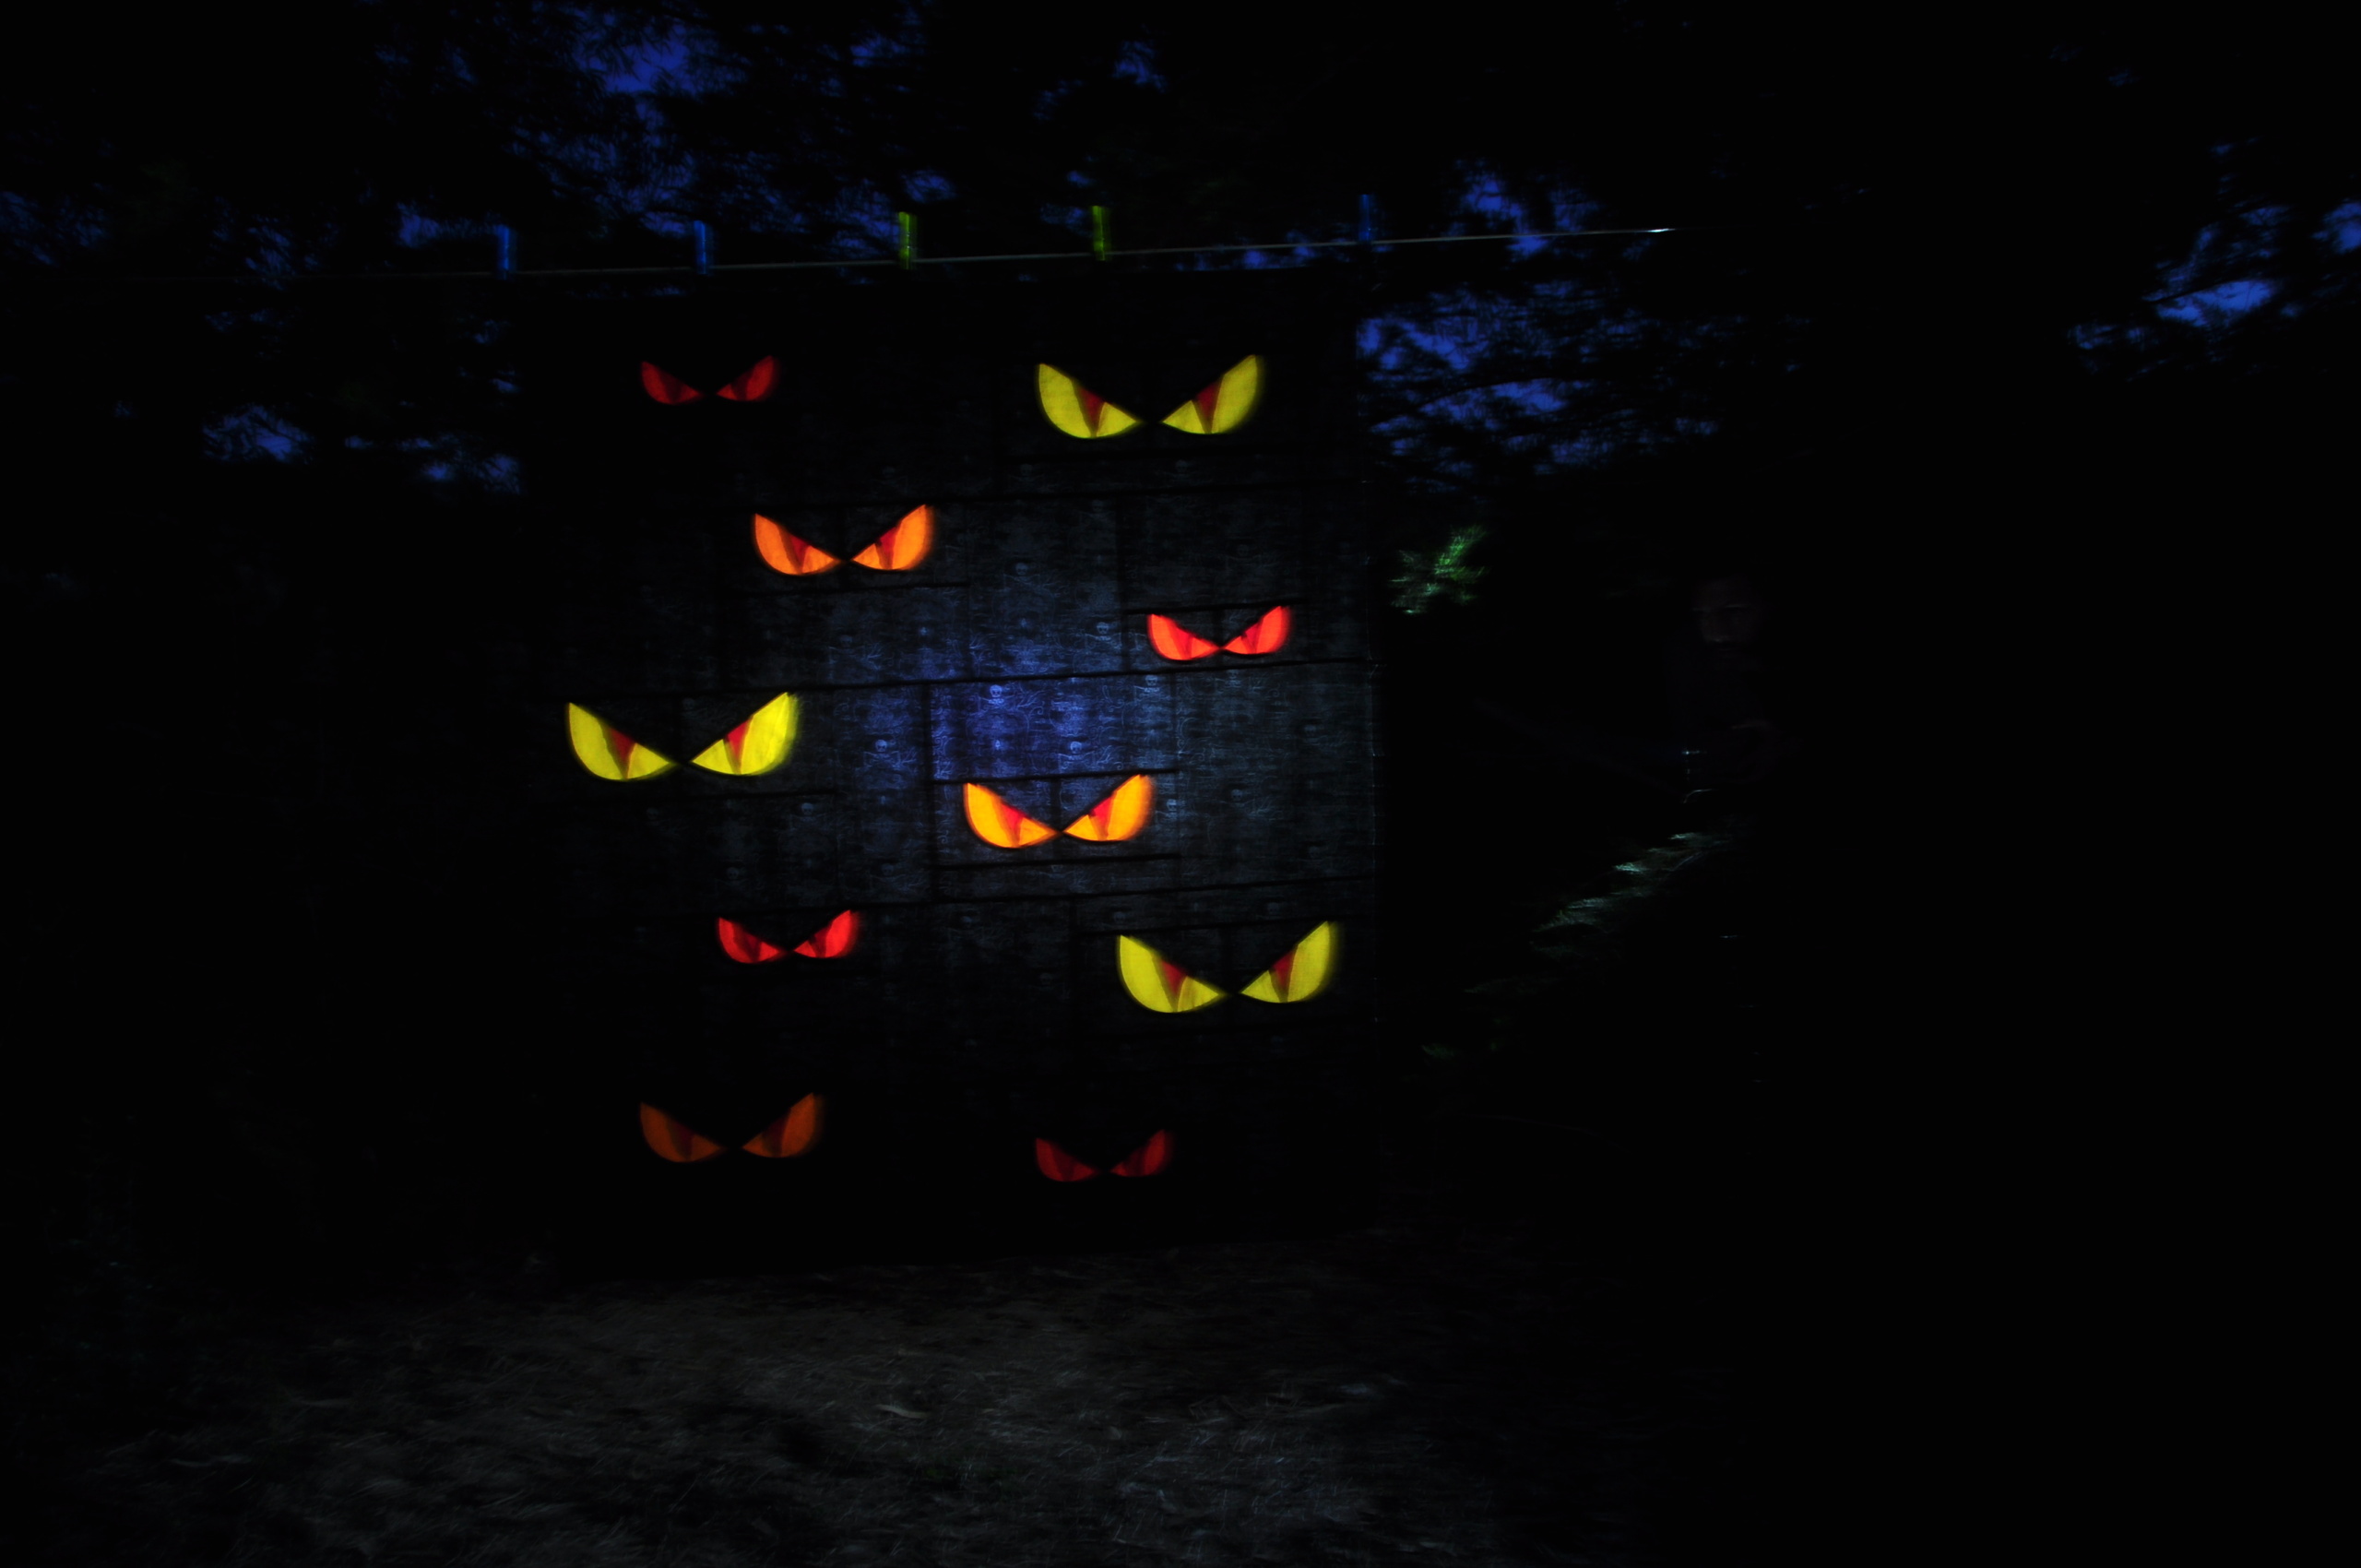
And here are the photos of my Quilt top which is waiting for it to be quilted and I expect very soon to add the finished quilt photos! If you don’t want to miss them, I will post them on my Instagram too, @amarar_creacions, so follow me and you won’t miss anything!
2. Pillow
The other size you can make following the Creepy Eyes pattern instructions is the pillow size.
To finish a pillow you can quilt the top as we would do for a quilt and then finish the pillow or not quilt it and directly finish the pillow.
Follow the instructions given before to quilt you pillow.
The most popular ways to finish a pillow are:
Zippered pillow:
How to add a zipper to a quilted pillow by Penny Spool Quilts
How to Make a Zippered Pillow Case For the Total Beginner by Hey there Home (which include a blog post and video)
Envelope pillow:
How to Make an Envelope Pillow Case by Hey there Home
For non quilted and quilted pillows: Envelope Pillow Cover Tutorial- Quick & Simple by The Broken Needle
For a quilted top adding a binding: Easy Tutorial: Envelope Pillow Cover with Binding by Suzy Quilts
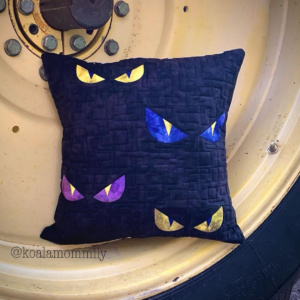
And here there are 2 examples of Creepy Eyes Pillows from my testers:

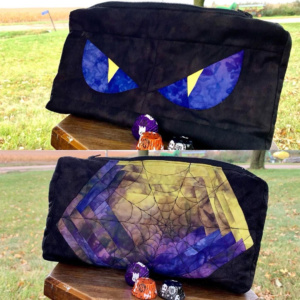
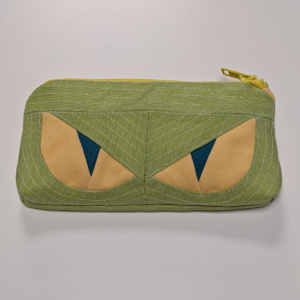
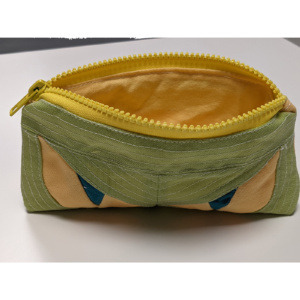
3. Pouch
Another Creepy Eyes project is a pouch. It’s really fast and fun to make and I can assure you any child will be in love with it! My 6 yo boy aders his one!
There are a lot of tutorials about making pouches in as many pouches sizes and shapes as you can imagine.
Here is my tutorial to make a simple zippered pouch, and you can use it to make the size and shape you would like. If you make a diagonal sewn in the two bottom tips the pouch will have a bigger bottom and will be able to stand up.
Zippered pouch tutorial by Amarar Creacions
And here is a video about how to make a quilted pouch completely different from my method. I have to try this one. I love it! How to make a Quilted Zipper Pouch by Minki Kim
My testers also made some amazing pouchs.

And the one I made one for my kiddo.
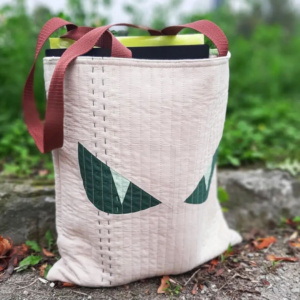
4. Tote Bag
One of my testers, Renata, from @cotton.and.ribbon, made an amazing tote bag. She wanted to use the pattern to make a non-skooky item and the result is really awesome!
Here is a wonderful tutorial about how to make a tote bag with a quilted block. Ice Cream Tote Tutorial by Penny Spool Quilts
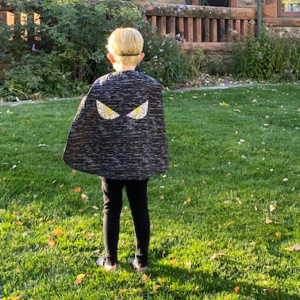
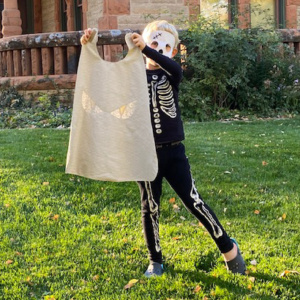
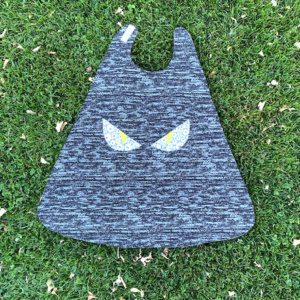
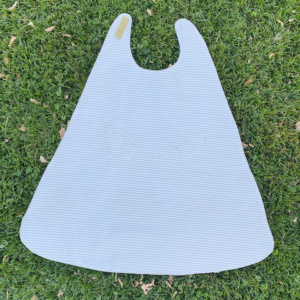
5. Cape
Sarah, from @acorncornerquilts, apart from the amazing pillow I showed before, she is participating in the Quilt Along and has made this wonderful cape for her son. And I think it’s a cool idea and sure any kid would love this Halloween costume.
Here are the instructions from Sarah to make the cape. Really simple and sure successful with any kid! “To make the cape, I used the Large Eyes and pieced the size I wanted. Next, I cut out the cape shape and placed it RST on the backing fabric and cut around it. Then I stitched them together leaving a gap to turn it. Lastly, I turned it right side out, sewed 1/8” around the edges and added Velcro.” Amazing right? you can check her work in her instagram account, @acorncornerquilts, and give her a lot of love! Thank you dear friend!
6. Fabric bag
Another Idea to make with the eyes is a fabric bag to collect candies at Halloween night. Anybody has made one of these. Would you like to be the first one? If you make a fabric bag with the Creepy Eyes pattern, send me a photo and I can show your work here!
Here you have 2 different tutorials about how to make a fabric bag.
This tutorial is from Penny Spool Quilts and shows us how to make a Drawstring Gift Bag with a quilt block. It’s really easy, fast and simple. The best fabric bag for trick-or-treat Halloween night!
I also have a fabric bag tutorial, which is really similar to the Penny Spool Quilts. In this one you will see how to add small strips at the bottom of the bag to use a cord to hang the bag in the back.
You can customize the sizes and the fabrics to create a really unique fabric bag.
7. More suggestions!
With the Creepy Eyes pattern you can really do whatever you can imagine! Here there go some roe fun suggestions with links to amazing tutorials:
Hanging ornaments: Penny Spool Quilts show us how to make amazing hanging ornaments with a small quilted block. And what about making it with the small eye blocks and hanging them on your porch for Halloween?
Jute garland: And what about just sewing the eyes part of the Creepy Eyes pattern and attaching them to a jute flag with fusible interfacing? That would be a fast project and your porch could look really cool!! You can customize the flags sizes and shapes, and also you could make them using fabrics! Here is my tutorial for Garland Jute flags (sorry for the English, it was written some years ago and needs to be checked!!)
Mug rugs / table runner: Remember the pattern includes puzzle pieces for you to make any customized size project. Using these pieces you can plan a table runner for example, and then you only have to finish it like it was a quilt.
Remember you can scale the size of the pattern, for example printing all the small eye block templates at 75% you will obtain the templates to make a block at 2,25″ x 6,75″. It’s really simple and you only need to think which block size you need for your project. I can help you with the scaling part if you need it.
The Creepy Eyes Quilt Along will finish in 6 days, on October 31th 2021. So, hurry up to finish your Eyes project and share them on Instagram using the hashtag #CreepyeEyesQAL, and participate in the giveaway of a $50 gift card for quilting supplies from Sewing by Sarah. As many shares you make, more entries for the giveaway and more possibilities to win! The winner will be chosen on November 1, maong all those that have shared a photo about your progress in the Stages 3 and 4, until October 31th, 2021.
Even if you haven’t started yet, you can see how some of the projects you could make can be done in just an evening and you can make your house look really cool for Halloween with a Creepy Eyes decoration. So, you only have to get the Creepy Eyes pattern, which is 15% off until October 31th, and start sewing!
I will share my final photos here and on Instagram too, @amarar_creacion, where you can find all my daily work. And if you don’t want to miss any of my further projects (one new cool project for Christmas is coming) you can subscribe to my newsletter, and you will also get a 15% discount in a purchase in my online shop plus a free pattern (HELLO SUMMER) based on my Modern international Alphabet FPP Pattern.
Thank you so much to those that have participated in the QAL, it’s been my first QAL and I’ve done my best. I would love to know your opinion about it, if you liked it, if you missed something, whatever you would like to comment on would be very welcome. You can leave me a comment here, send me an email to amararcreacions@gmail.com or chat with me on Instagram! I love all your feedback and it helps me to go on with my work!!
 Best wishes to you all and remember to share your Creepy Eyes projects! I can’t wait to see them all!